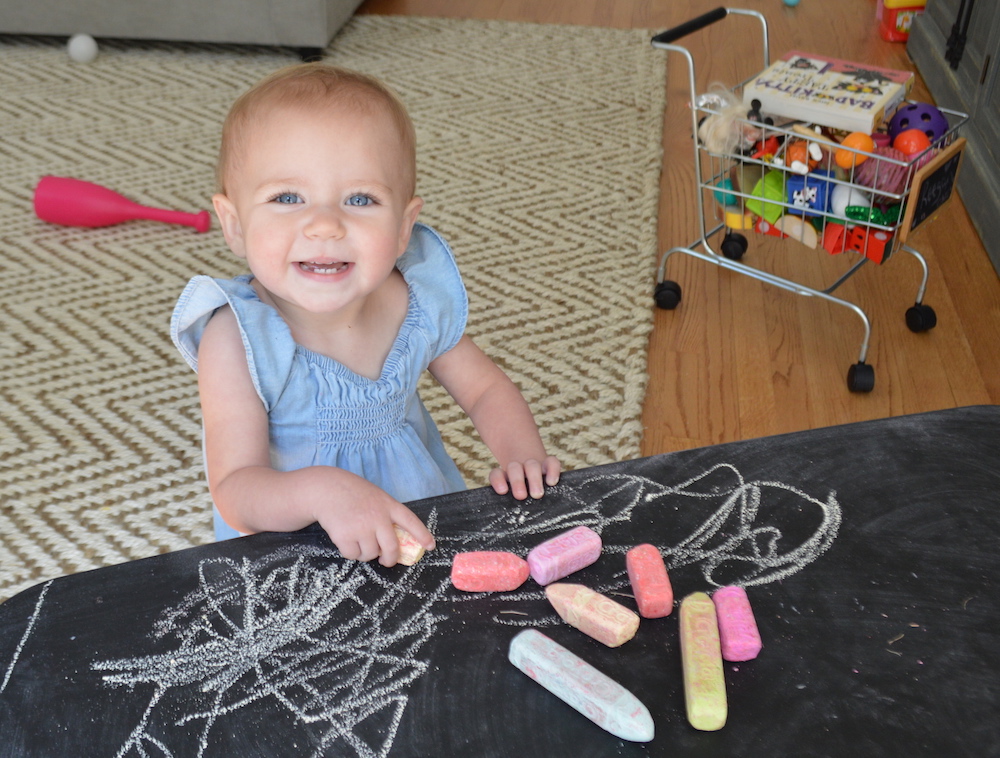
This is the easiest DIY you will ever do! Seriously. Jeff’s mom gave us this cute out door kids patio table, but I had an idea for it. A Chalk Table! I DIY’d this little baby into a little art table asap, and it’s possibly Reeg’s favorite thing. She loves to sit and color. And the BEST part?! Chalk comes out!! (Hooray for a Mom Hack!) So, while I haven’t let her play much with crayons and markers, she is always covered in chalk. And there is zero need to get stressed over it.
What You’ll Need For Your Chalk Table:
- Chalk Paint
- Foam Roller
- Mineral Spirits
- Table
- Clean Cloth
Seriously, that’s it. And it doesn’t have to be a similar table. You can do this with any table you have or one you find at a garage sale. I would recommend a smooth top, wooden picnic table would be tricky for coloring.
Step by Step
- Clean the table and let it dry.
- Wipe the table down with your cloth and mineral spirits. (I did this a few times to make sure all the dirt and oils were off.)
- Use the roller to paint the chalk paint on.
- Let dry.
- Second Coat.
- Dry
- Repeat as needed.
- You’re done!
Yup, that’s seriously it!
We did ours over a two night span. I wanted to make sure the paint was really dry. At first you’ll see lines of where you rolled, but as it dries, those go away. I was thinking of doing the bench seats as well, but Jeff reminded me that then her booty will constantly be covered in chalk. So, we skipped it. For now.
This would even make a great gift. Kids are so hard to shop for. Up-cycling a little art table for them is sure to be a hit.
Keep the roller and paint around! My daughter really pounds at that chalk table and has chipped some of the paint. I don’t fret. Eventually, I’ll sand it and redo the process.
Like the Chalk Table? Check out my Industrial Curtin Rod DIY Here!
Social Links:
Facebook | Instagram @CandaceCottet | Pinterest
(join the 730,000 other monthly views!)
Don’t forget to pin + share!
