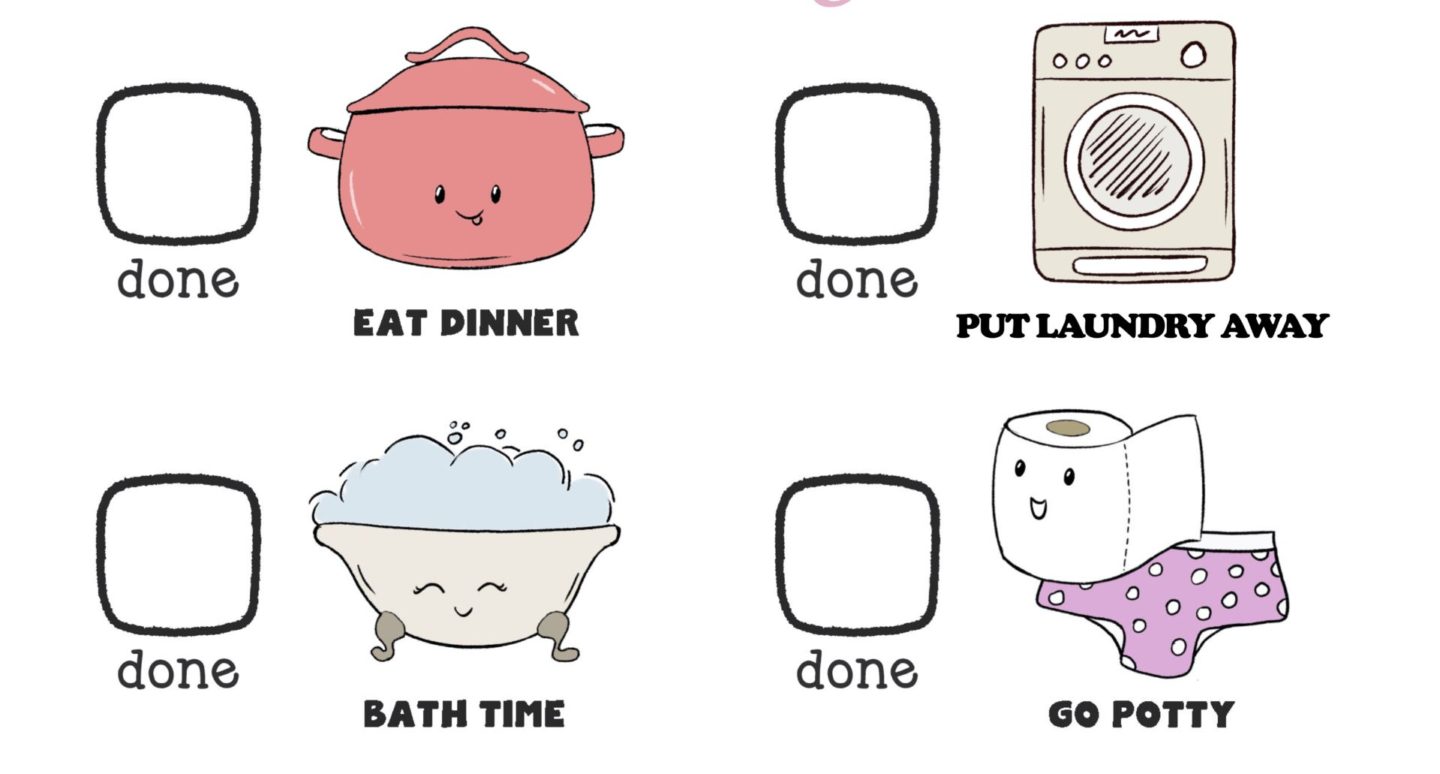
When we logged on for Reegan’s virtual orientation the teachers requested we have a chore chart in the house. Within their classrooms, they usually have leadership roles for the day. Her teacher wants us to recreate that at home. After a google search that left me unsatisfied, I headed to Etsy…
Why Customize a Chore Chart?
Reegan is 4.5 – I wanted to start slow; just making our mornings go a little smoother as virtual school starts out would be a win. Most of the chore charts online were spaces for words (I would have to read them), colors I didn’t love, etc. I wanted something that could grow with us. This Etsy chart did the trick.
And whatever big sister does, little sister wants to do.
Tools Needed to Make a Chore Chart
Chore Chart Etsy Package | Amazon 11×14 Frames | Museum Putty
How To Customize This Chore Chart
When you purchase the chart package on Etsy, you’ll receive several files in a zip folder. Here’s how you get it from there to the wall!
Step 1: Downloading Your Chore Chart Package
Check your email for a link to download the files. If it’s not there. Head back to your Etsy account. Click Purchases and Reviews under the You drop-down menu. Click on Download Files.
When these download, you’ll have one folder of jpgs and one folder of pdfs. I only downloaded English, but the Spanish options are also available in your package. Those will have their own folders as well.
Step 2: Cut & Paste OR Customize
I used Pages on my MacBook to customize our chart. If adjusting things within an app doesn’t work for you, and you want to use some scissors and glue sticks that works too! For that, just print out the PDFs and skip to step 4!
To customize the chart within pages you will want to use the jpeg files you download.
Drag and drop the chart jpeg you want to use and the chore pictures sheet jpeg you want to use into the fresh Pages document. Make sure to adjust the size of the chore chart so it fits into the 8×10 frame. It will show the chore chart image size to be about 6.95 x 9. Paper is 8.5 x 11. Just have white around the edges and you should be ok!
Next, you’ll want to cut the chore images down to size. Use the Edit Mask option under Image to crop the chore graphic sheet. Then continue to duplicate (Command D) the sized and cropped picture to fill all of the spaces. Use Edit Mask again to slide the graphic over. That way all of them are the same size!
If you want to change any wording below the images the closet match was Cooper Black. For their names I used Lucida Handwriting in Italic.
Step 3: Print & Frame
And Print! Being one of those people who never has ink in their printer, I sent ours off to FedEx and printed them on 100% cotton paper for $3.
We found these frames on Amazon (5 for under $30!) and they are a steal. They are not glass, it’s a plastic panel with a light wood frame. It’s all we need for this. Plus less to break!
Step 4: Hang it & Stick it!
Frames on a single hook will wiggle. This Musem Putty is your BFF for wall frames and delicate knicks on display. Roll up a little and push it on to each corner. It won’t budge.
Finished!
The girls LOVE them. Reegan went to bed saying she couldn’t wait to do everything on her “menu” tomorrow. So cute! This morning she came downstairs and had already made her bed. Yes!
I was going to use a dry erase marker with these, but they haven’t asked to check them off.
I should note that I like this particular version of the chart because it doesn’t lead to a reward. I’m currently in a place where I don’t think they need a reward for brushing their teeth and putting their laundry away. Maybe if we up the chores down the line I can change that mindset, who knows.
I love that I have these files and I can just go back in and switch and print them whenever I want!
If DIY’s Aren’t Your Thing
If you are more into a chore chart delivered to your door, here are a few options! I LOVE the butterfly jar. Definitely grabbing that one for later on.

