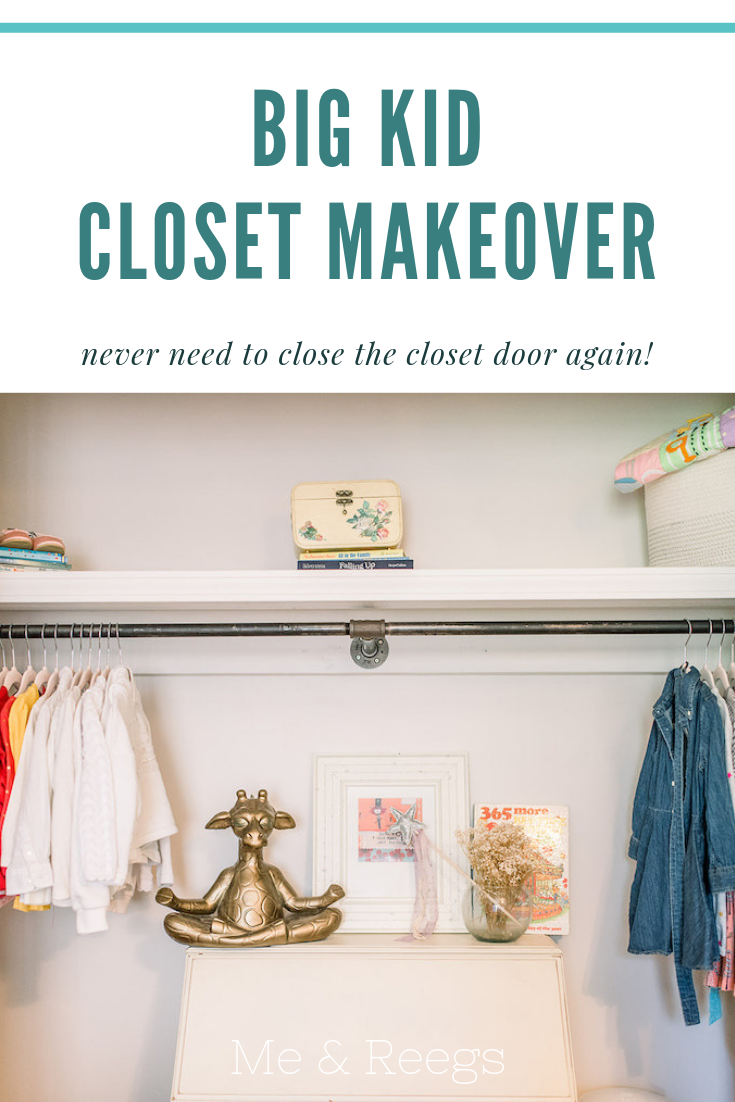
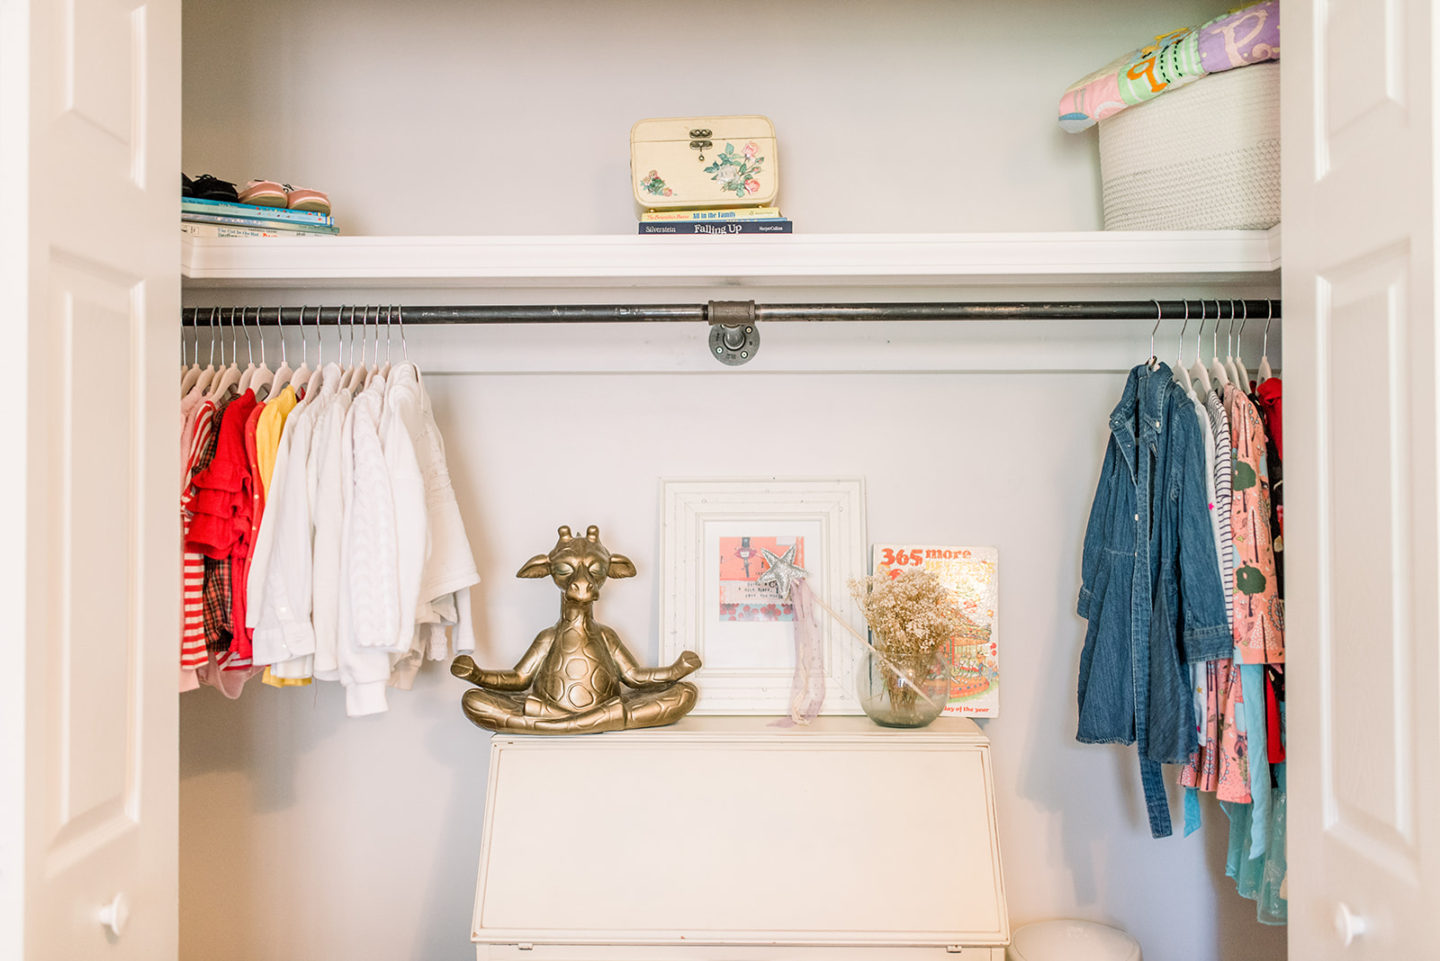
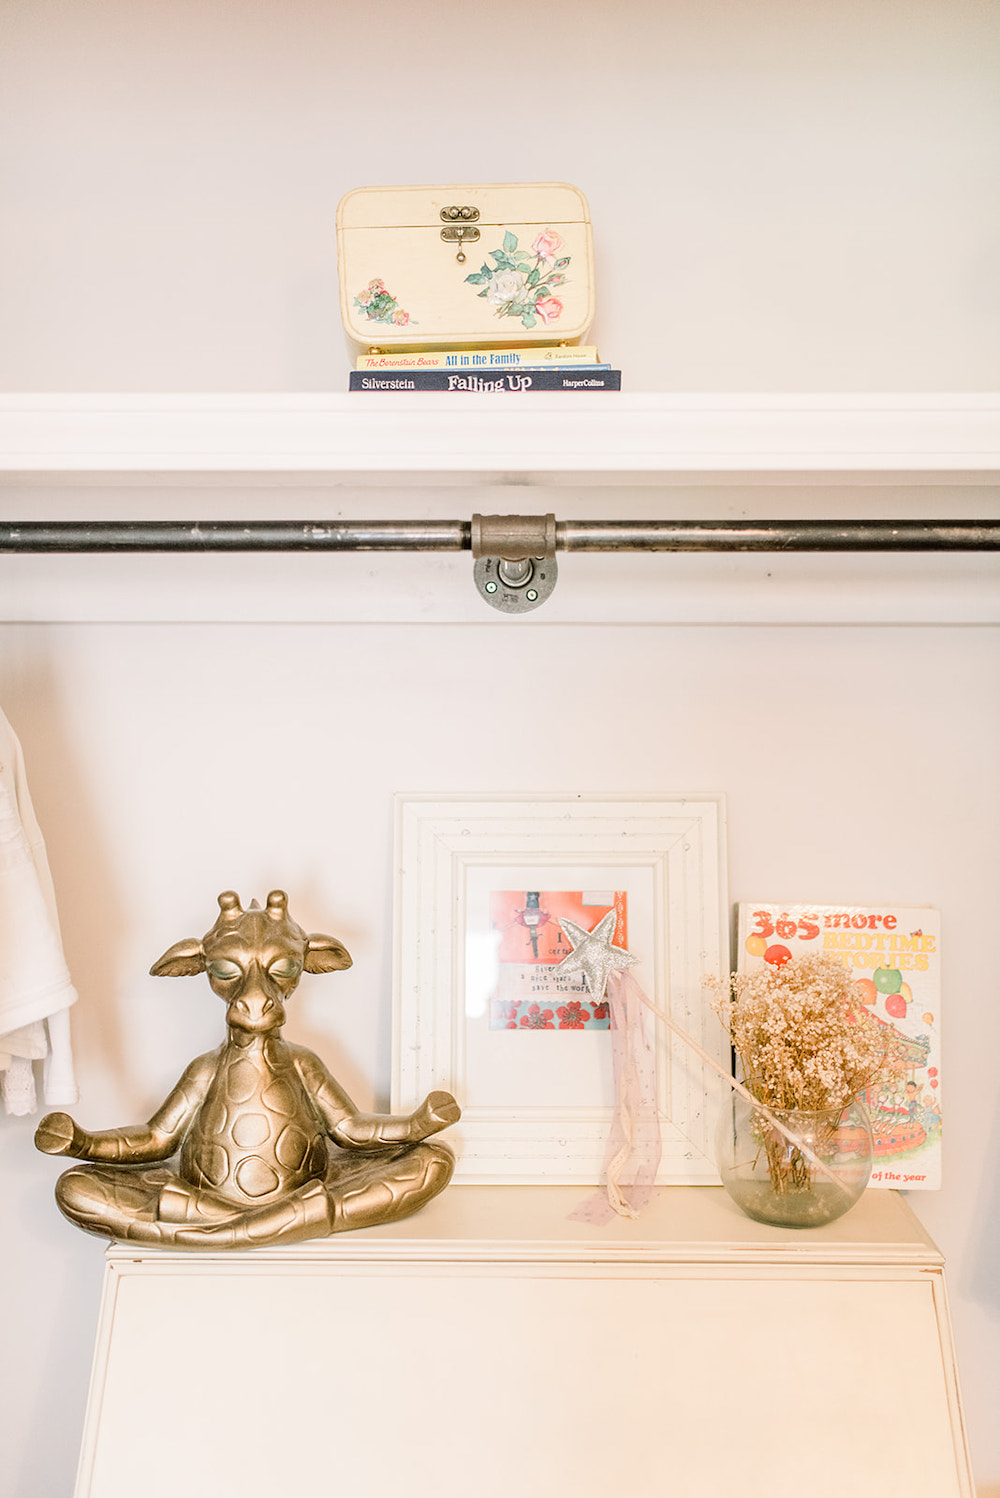
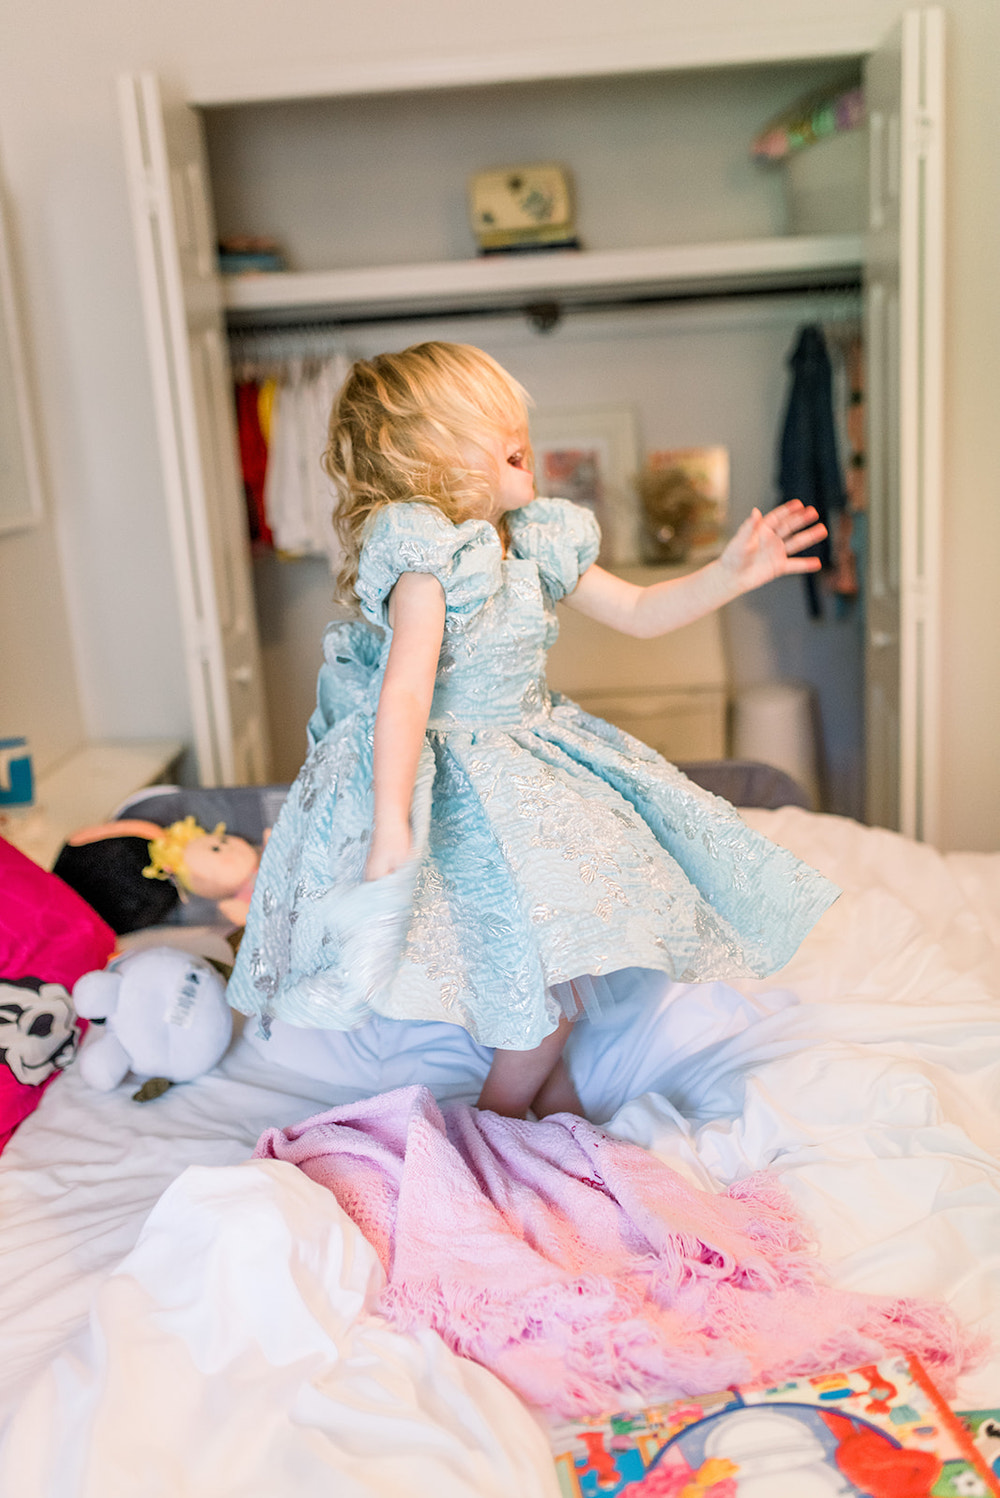
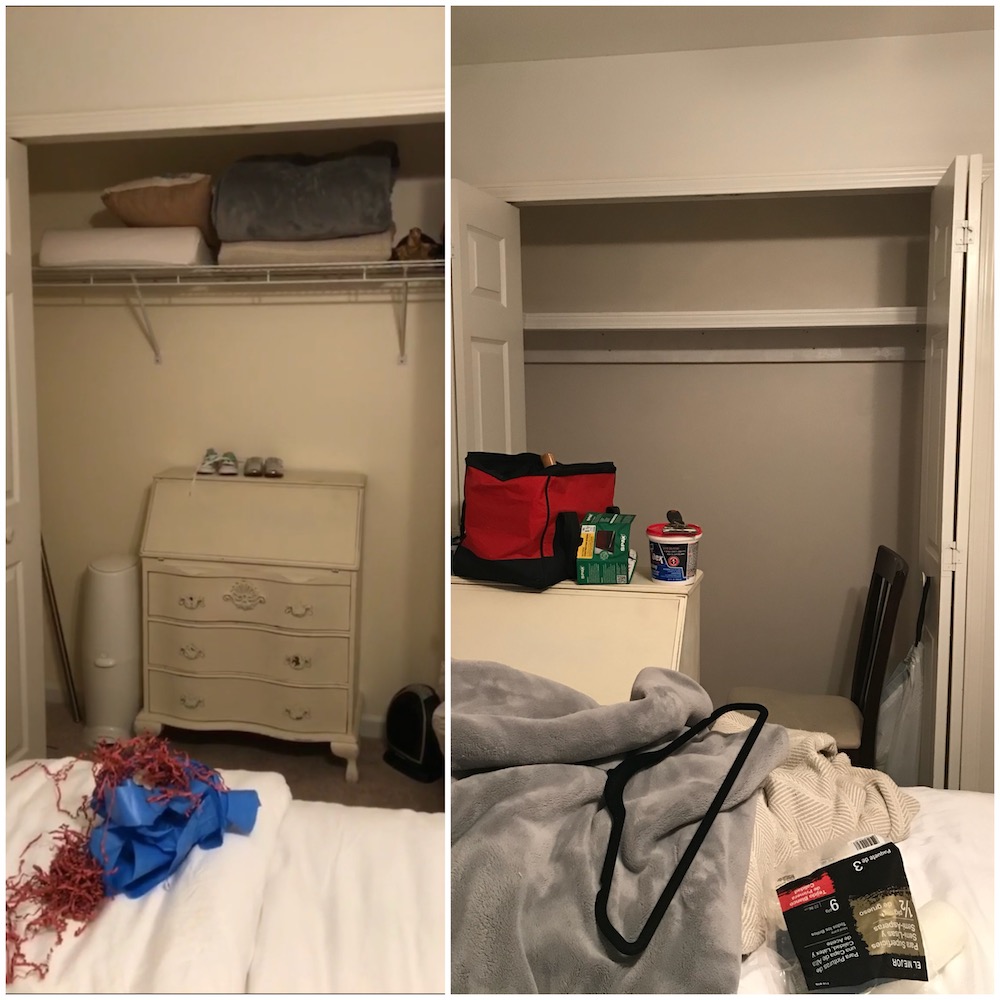
The closet was fine. Unless you like hangers, or want to live in the room. In that case, the closet was pure madness. I don’t know who invented these closet installments because they clearly just like storage boxes and not hanging shirts or owning heels.
When I was pregnant with Julia, my nesting went bonkers. I was moving Reegan into a different room, so I wanted it to feel done and special. In that spiral, I panicked until the closet was done.
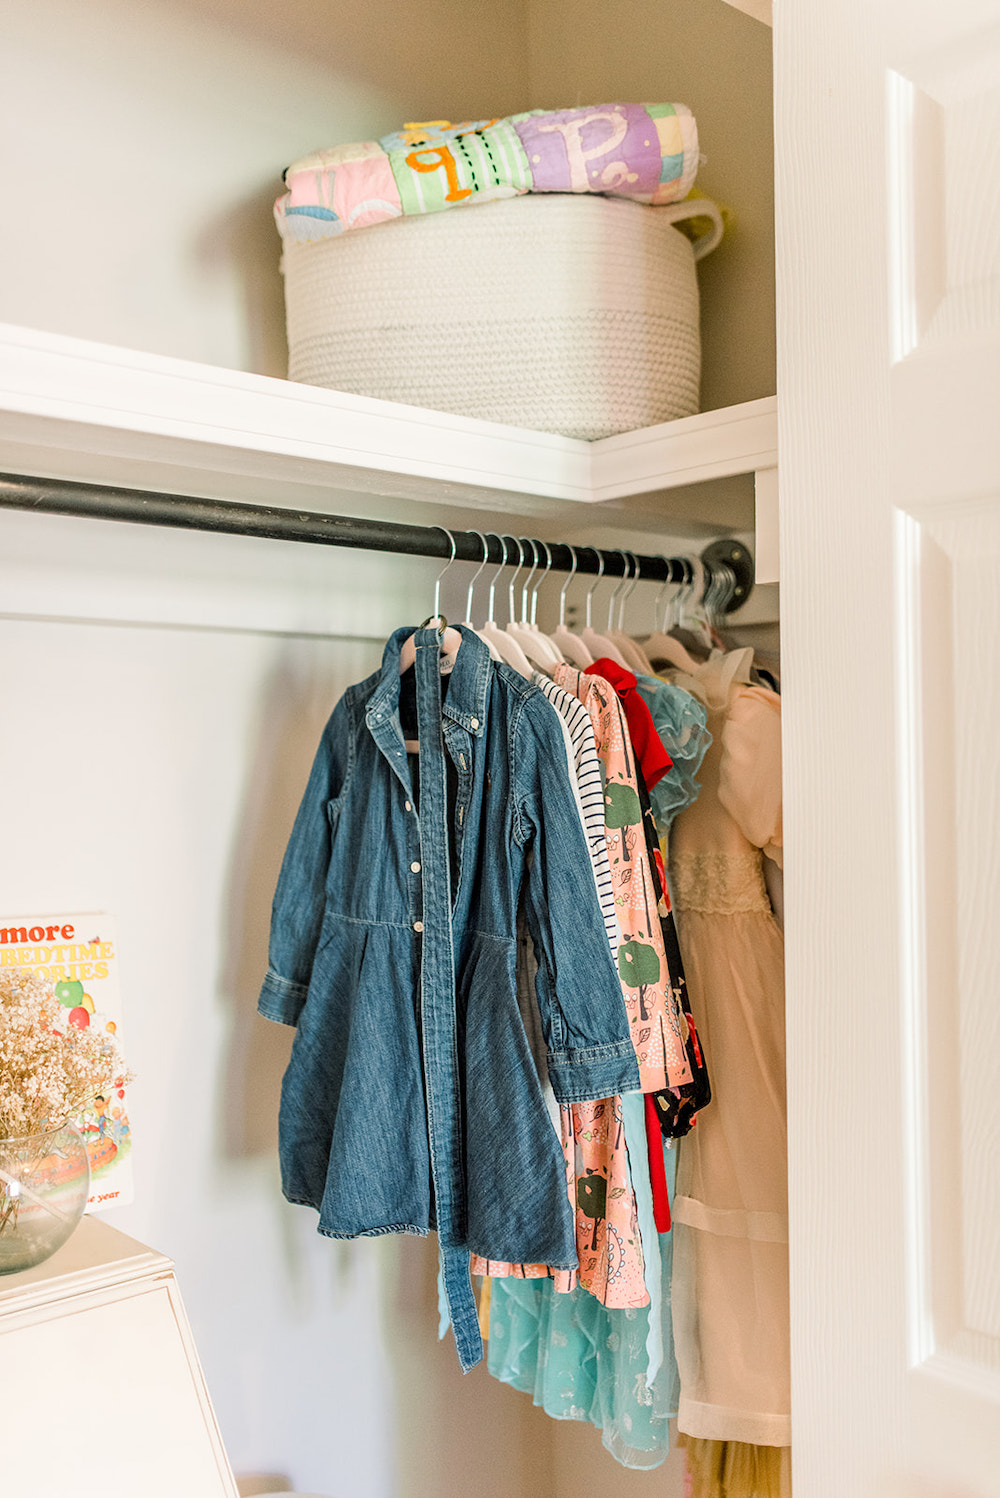
I have to be honest and say, the closet makes me happy every single day.
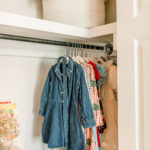
I know that sounds batsh*t, but it has become an extension of her room and a Marie Kondo dream. It’s open and pretty and I never close the doors.
Everyday when I get her dressed, I have gratitude for how functional it is.
It’s inspiring to me. Our closets don’t need to be places we shove stuff. She has PLENTY and I’m setting her up to believe that her closet is no different than her room.
WHAT WE USED FOR THIS CLOSET MAKE OVER
- 2×6 boards – Two 8ft boards.
- 2×4″ – One 8ft board
- 3/4″ plywood – One 4×8 sheet
- 1/4″ toe trim and interior door trim to match our home.
- Gas Pipe – 2″ (We took a hanger we us to test it)
- Paint – Painters White by Behr
Painter’s White by Behr is a color not just white, and it shines differently in each room. In Reegan’s room it picks up blues in some light and tans in others. We have the same paint in our kitchen and it almost blue.
For my favorite paint colors click here and read more.
For the installation of the bar click here!
We did this same idea on window curtains and privacy curtains.
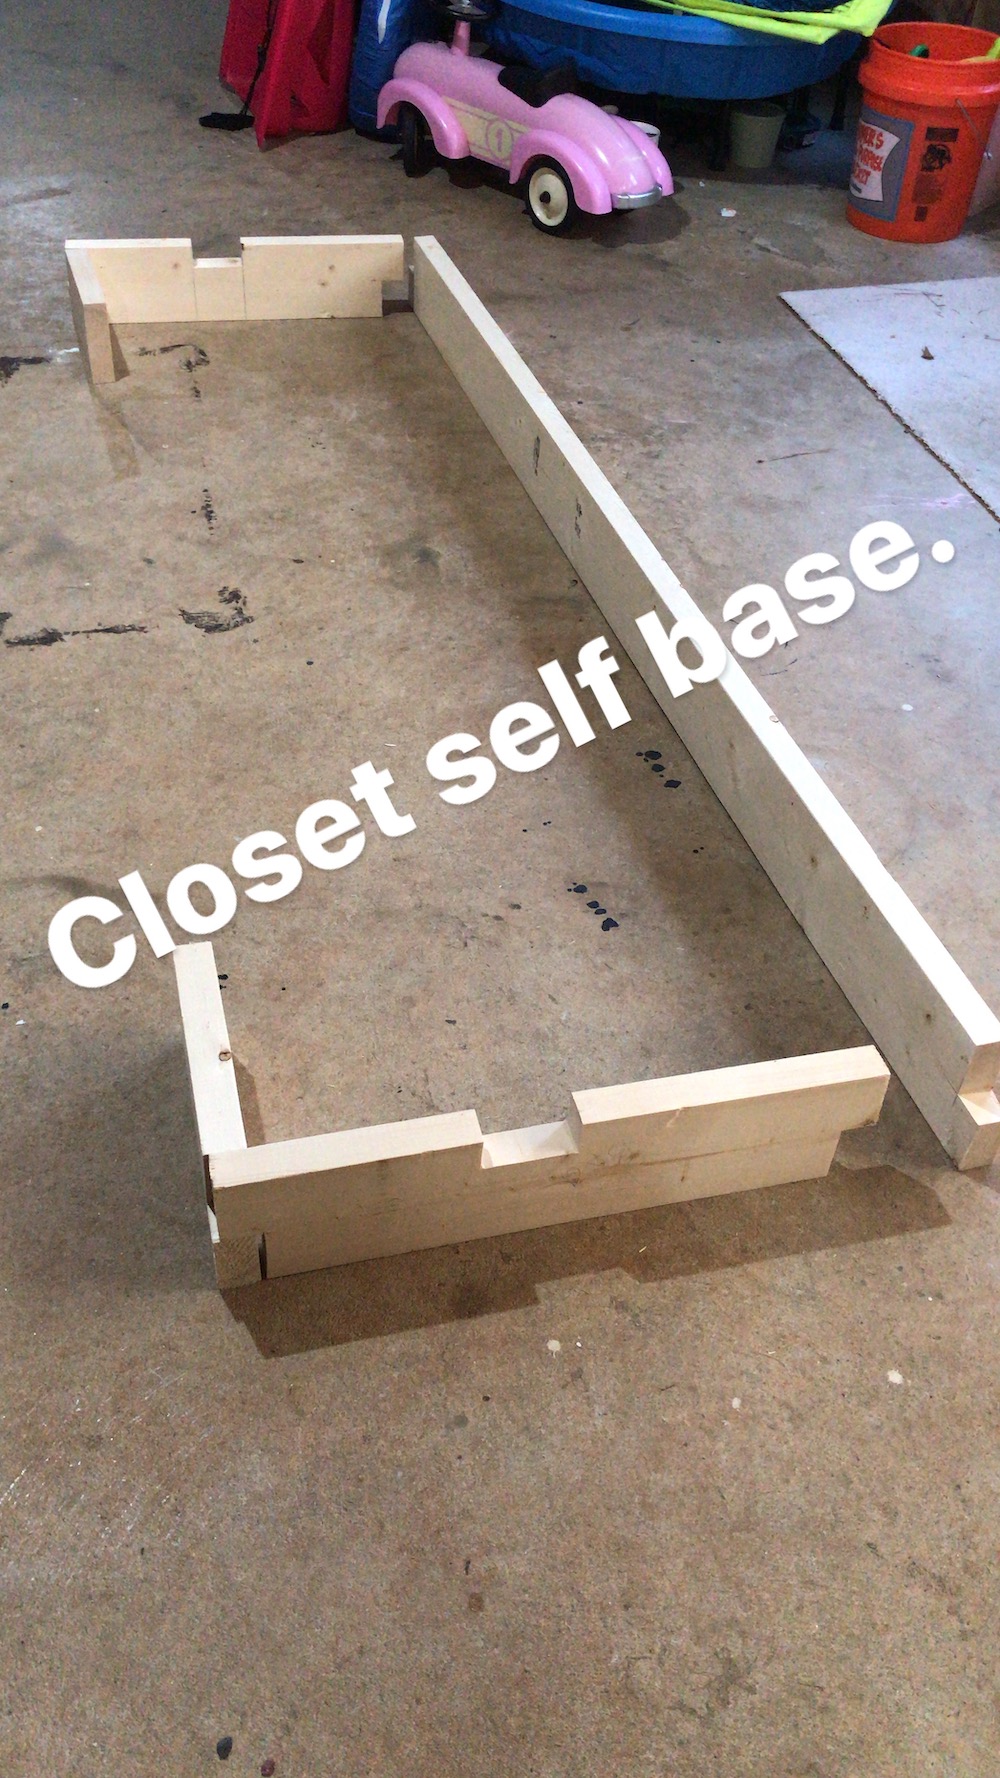
First we laid out the 2x6s and cut out notches to distribute the weight. Think Lincoln Logs. This allowed the closet to kind of snap together.
We knew the top of the closet shelf needed to be 12″ under the door frame in order for us to be able to fit anything up there in the future. You have to also account for the plywood. So measure 12 inches from the door frame and then another 3/4″ of an inch to account for the plywood. Draw a line at that height, that’s where the top of the 2x6s need to line up to. 12 and 3/4″ below door frame.
Next use a stud finder to mark the studs in the wall. This is where you will drill the boards into the wall.
Once the line was drawn, and the 2x6s were cut to size, and the notches added in, and the studs marked… Jeff put the boards up with construction screws. You can drill in regular construction screws, Jeff had just gotten his pocket screw jig and was overly excited. So after he put construction screws we doubled up with pocket screws. If you don’t have a pocket screw jig, don’t fret they were completely unnecessary, just use construction screws.
We started with the back board, to get things level, and then worked our way around from there.
Then we snapped in the 2×4 for shelf support, and screwed that in to the base from the top down.
The shelf was ready for plywood! We had the plywood cut to size at Home Depot. There is a piece of plywood across the middle of the shelf, and then two pieces going down each side. Ours are cut where the side pieces are rectangles, with the piece along the back fitting between them.
We drilled the plywood into the base with 1 1/4″ screws from top down.

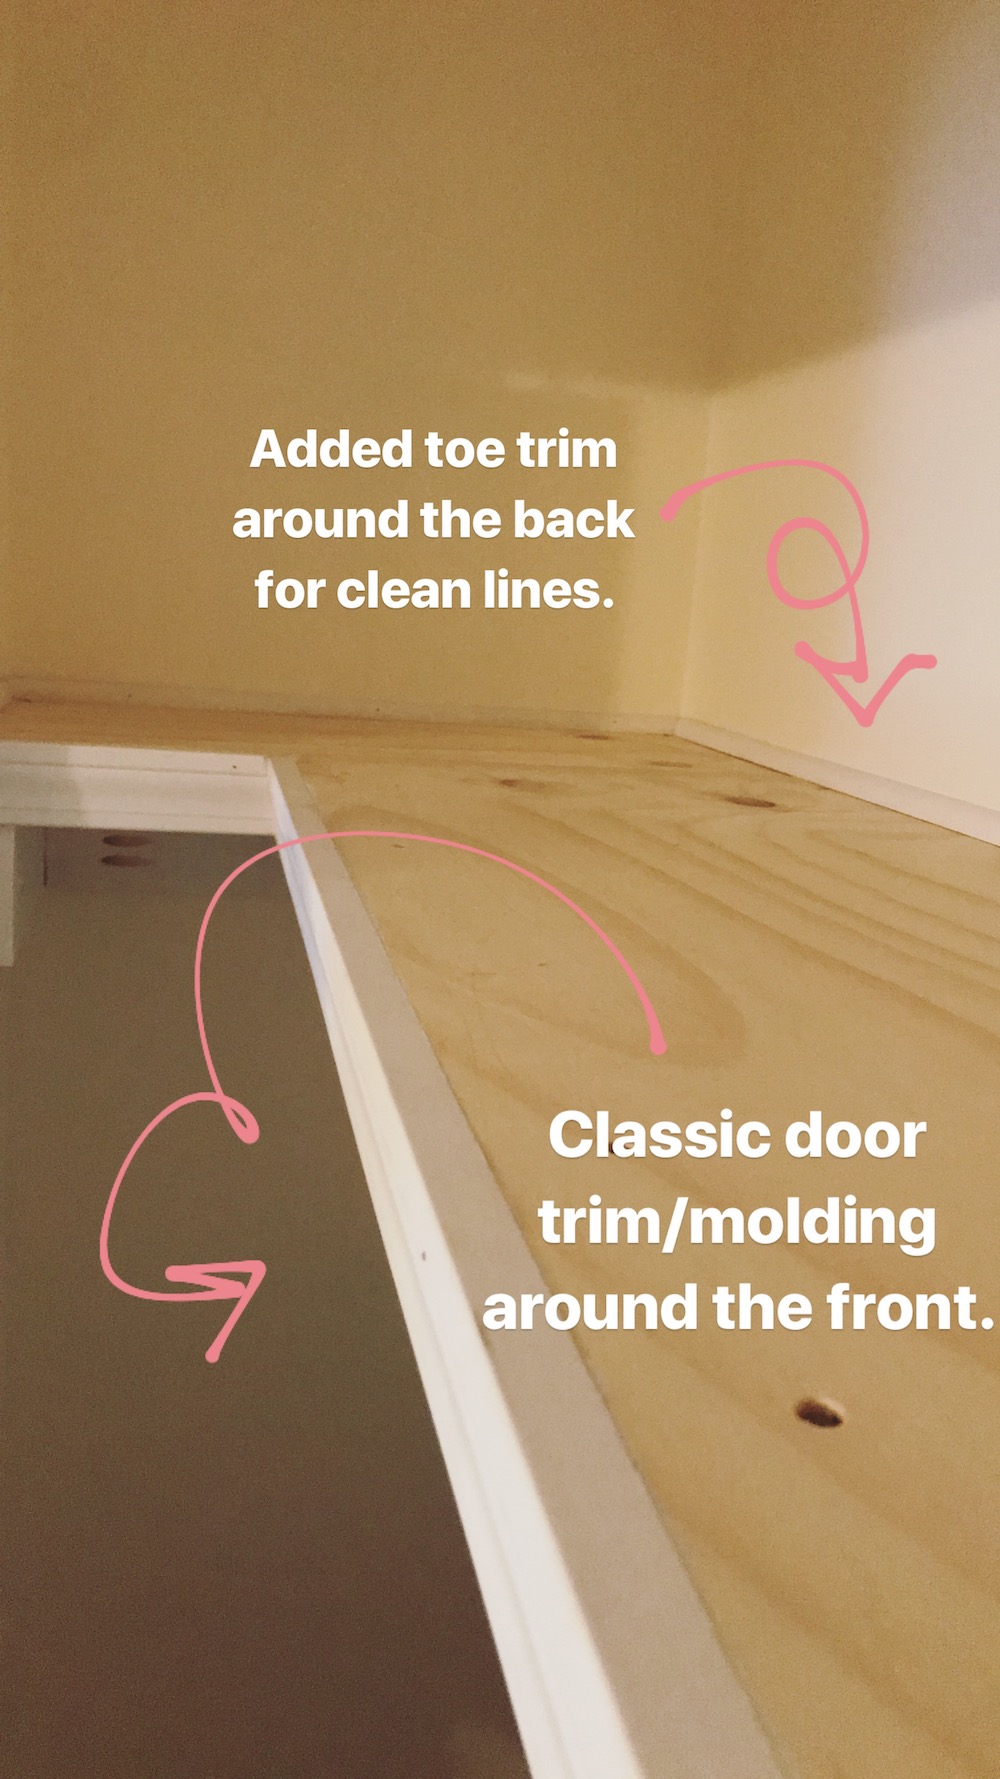
WALLS AREN’T PERFECTLY STRAIGHT!
This is another reason to use the toe trim.
When you line up the plywood to be flush to each other, there will be gap around the edges of the wall. We caulked this gap with paint caulk, and then covered it with toe trim.
We used a Miter saw to cut the trim. This gives you those clean angles so the trim looks continuous.
To put the trim up, we used a nail gun with 2 inch 18 gauge brad nails.
That’s it!
We did a light hand sand to it, wiped it down, and painted that baby the same color as the trim in the room.
For the installation of the bar, click here!
Process Pictures
Similar Posts |
- Industrial Curtain Rod DIY
- Brass Chandelier Make Over
- DIY Fireplace Bench Cover
- Chalkboard Wall
- French Door + Transom Installation with Home Depot
Social Links:
Facebook | Instagram @CandaceCottet | Pinterest
(join the 700,000 other monthly views!)
Don’t forget to Pin and Share!