
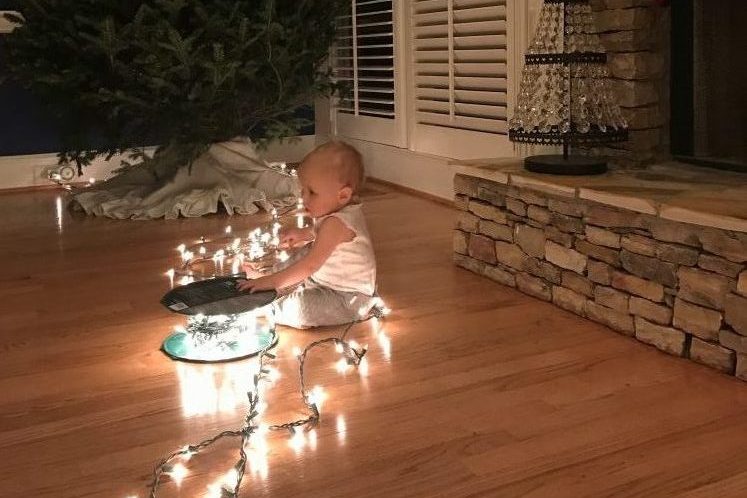
When we moved into our home, one of the things I loved most was the fireplace. But every single person commented on how it was a death trap for our then 8-month-old daughter. And they were right. With a stone hearth, the edges were sure to send you to the ER. A cover was necessary, but every option was downright ugly or pricey. I had to figure out a pretty alternative to cover the stone hearth.
Why You Need To Baby-Proof Your Fireplace
We all love cozying up to a gorgeous fireplace, but with toddlers, a stone hearth fireplace can cause for worry. We baby proof everything in our house; a cover for the fireplace hearth was a natural progression.
Supplies To Baby-Proof Your Fireplace
Here are all of the supplies you need to baby-proof your fireplace.
1/2″ Plywood | 2x2x8 wood | Batting | 2″ Memory Foam |1″ Foam for Surround | Upholstery Fabric | Staple Gun | 2″ Screws for Frame | Drill | Scotchgard Fabric Protector| Corner Braces
5 DIY Steps To Baby-Proof Your Fireplace
STEP 1: Measure Twice, Cut Once
Measure the hearth’s length, height, and depth. You’ll want to add 2″ to the height so the bench slides on and off the hearth easily, and 2-3″ to the length. You’ll be accounting for the batting, fabric, and wood.
Insider Tip
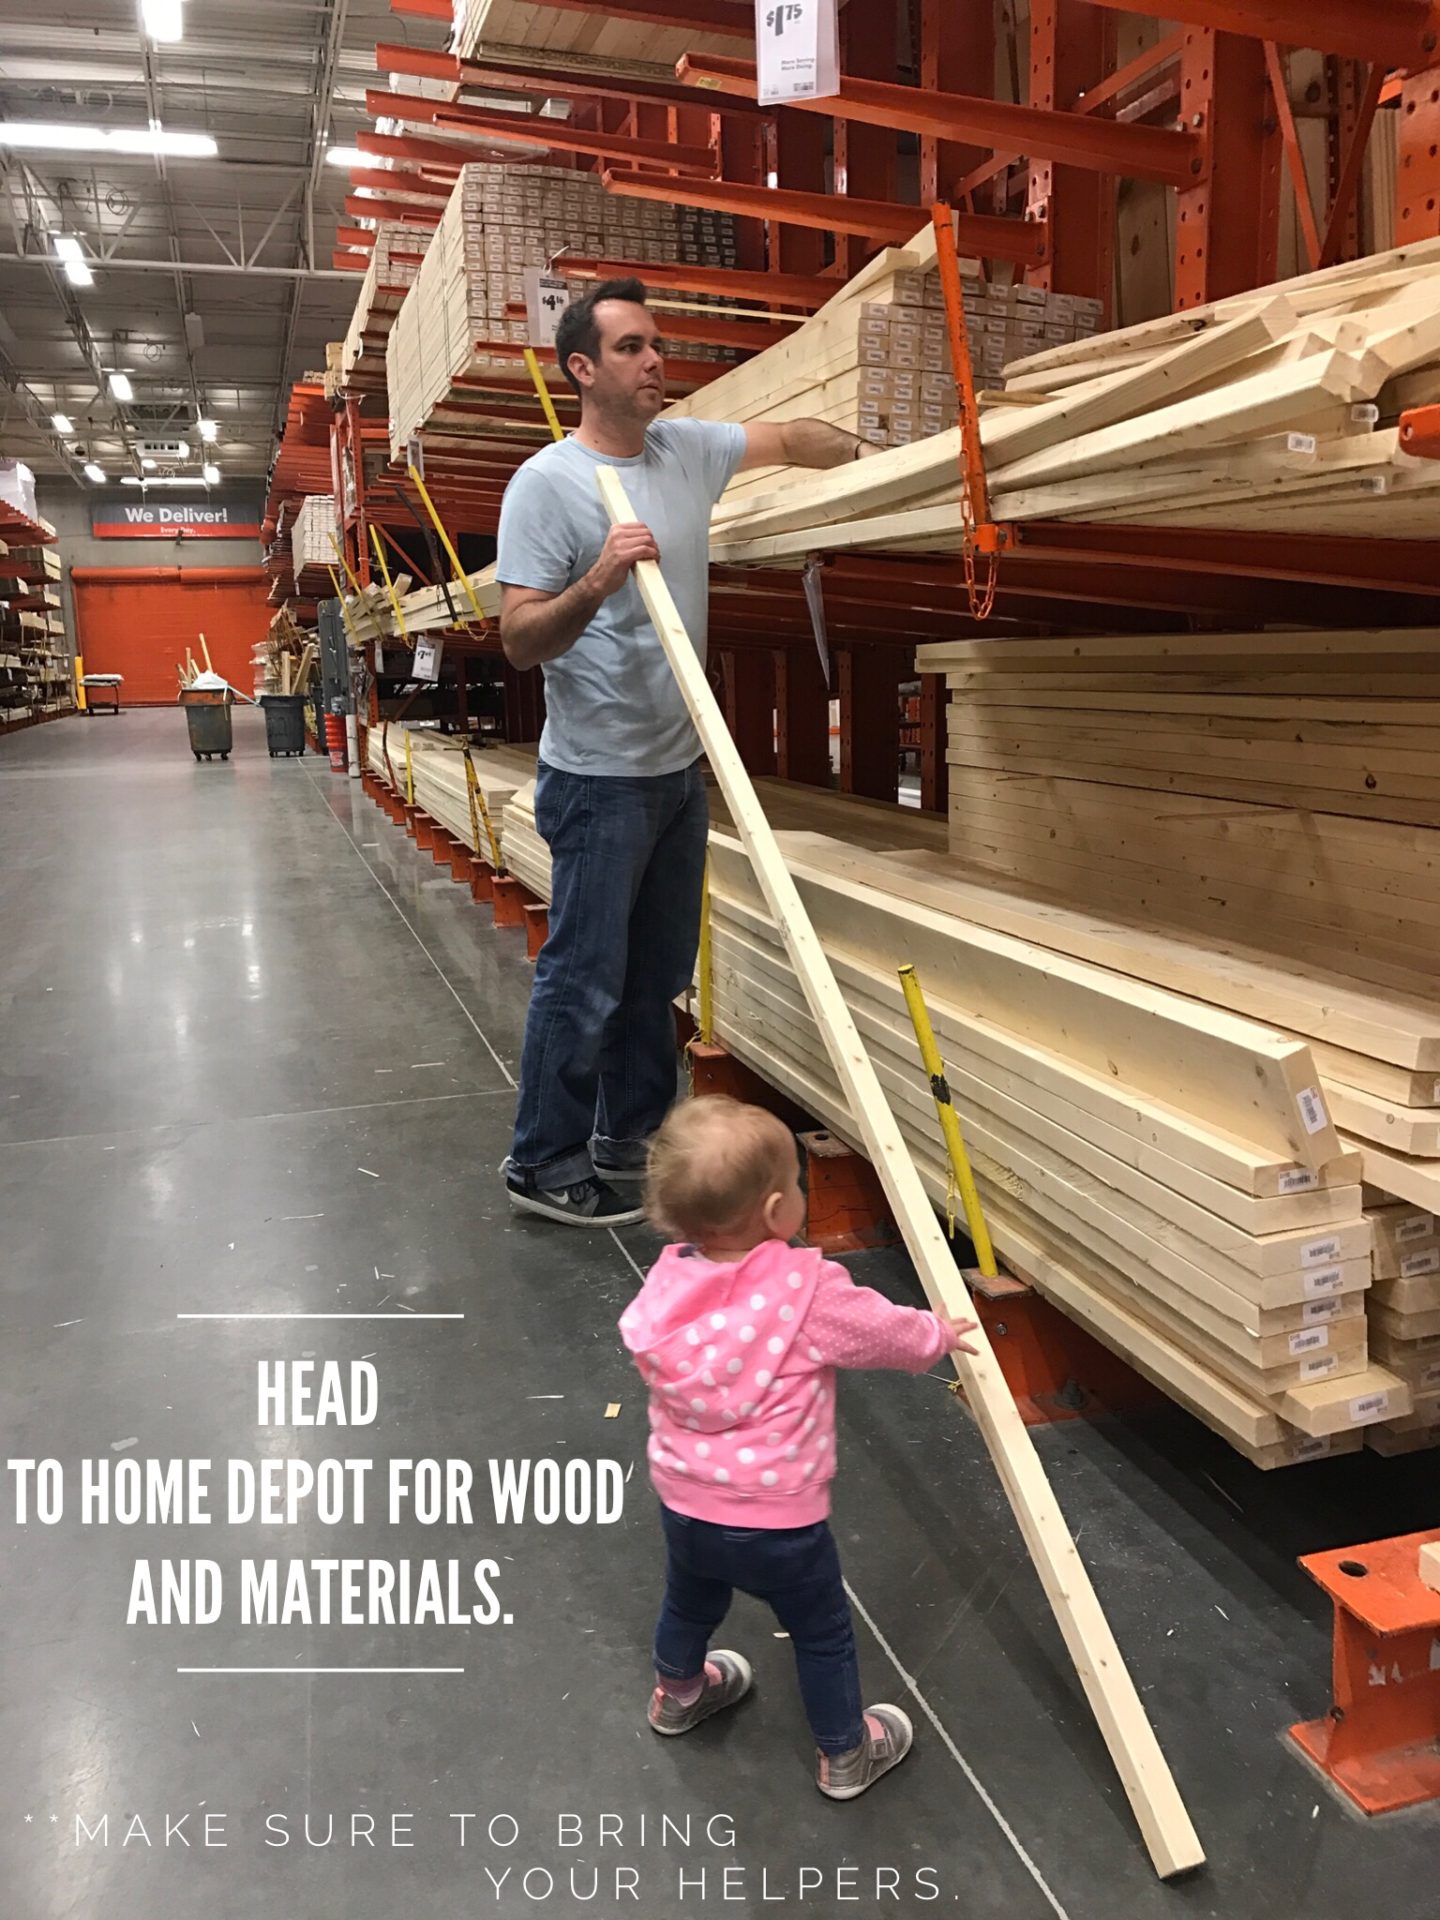
Home Depot will cut the 2″x2″ and plywood to measure. (You’ll pay for the entire piece and take home the extra.) We drew the bench structure out and took it to Home Depot for cutting. **easier to transport the wood home this way too.
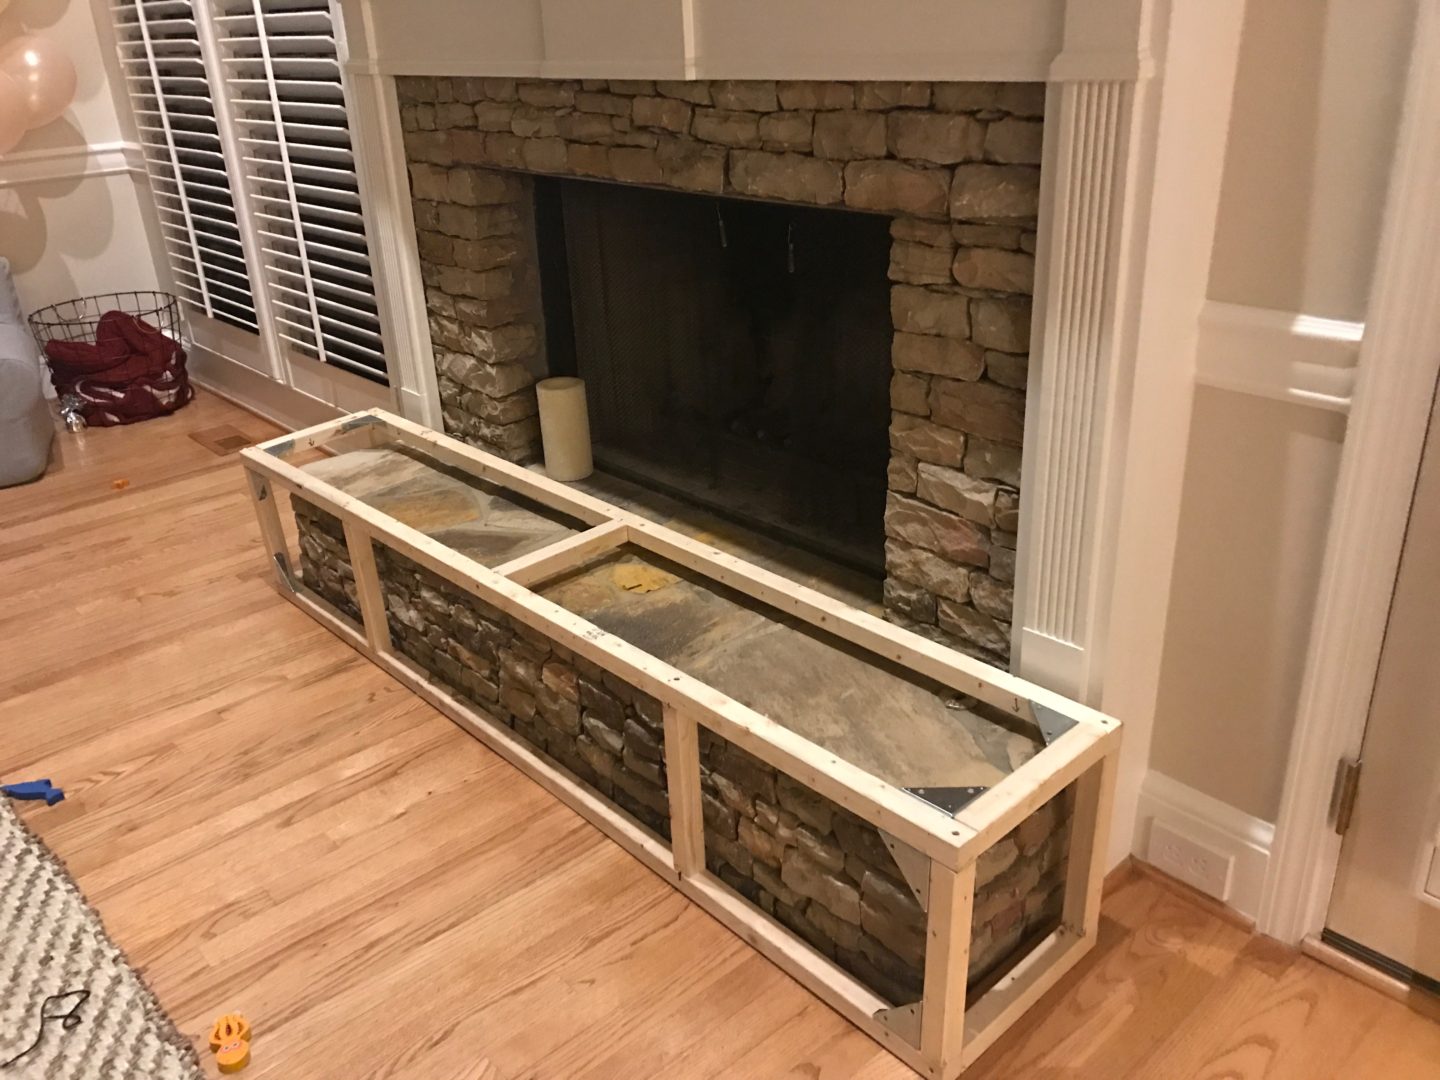
STEP 2: Building the Base
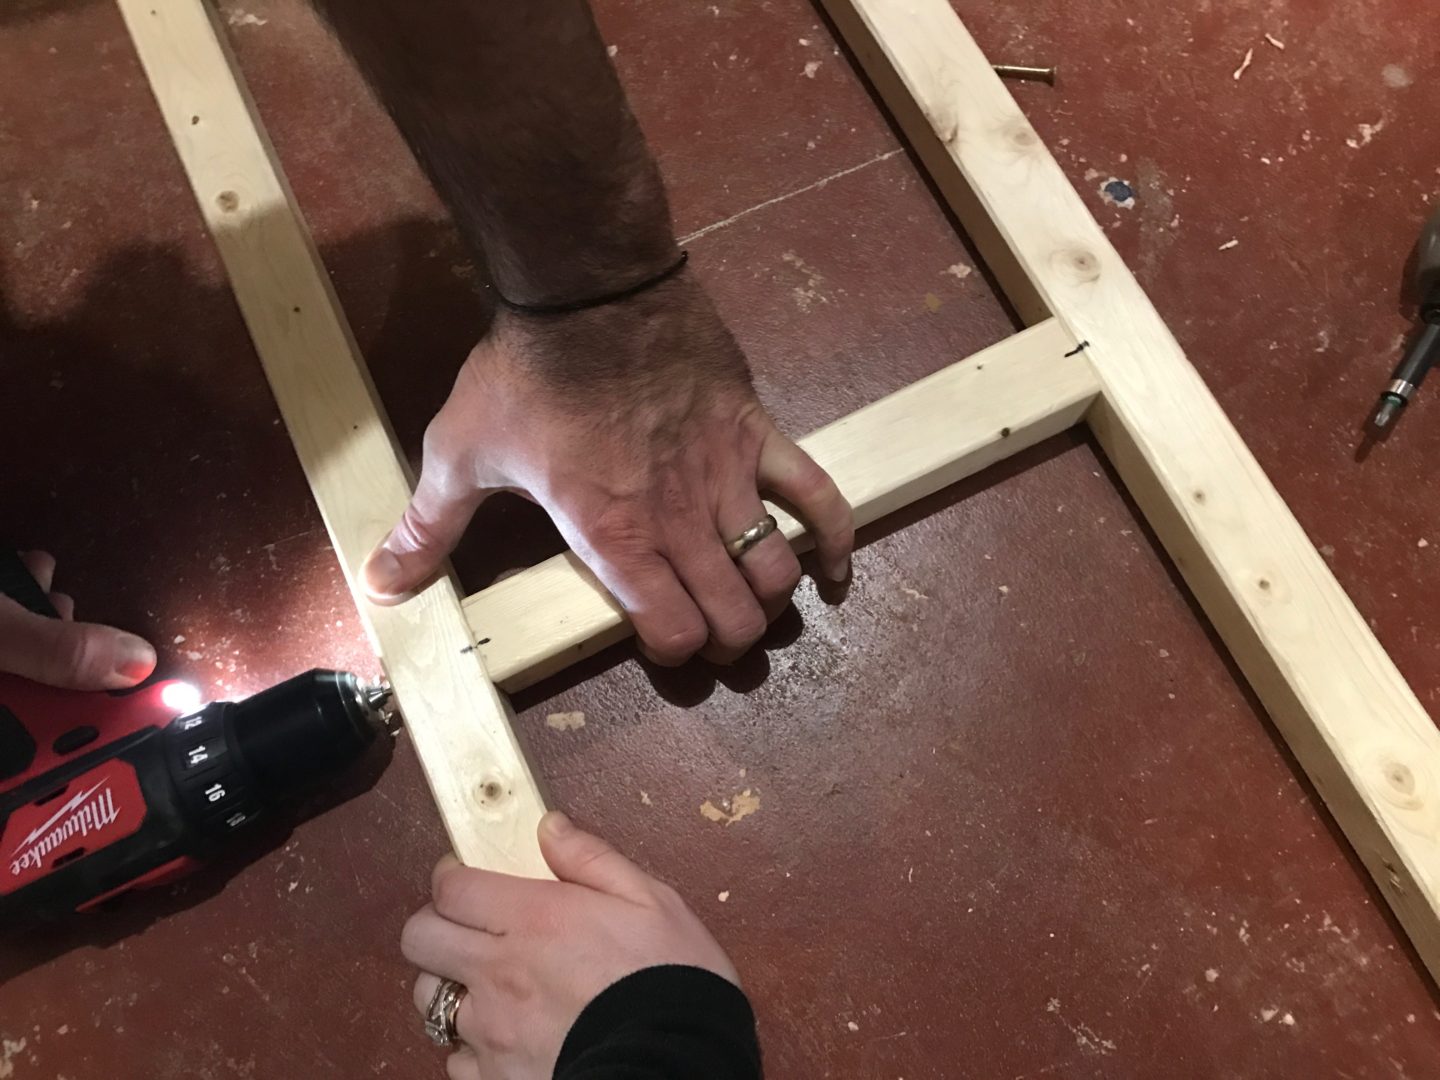
First, you’ll put together the rectangular face of the base. Add the top of the frame base and support beams throughout.
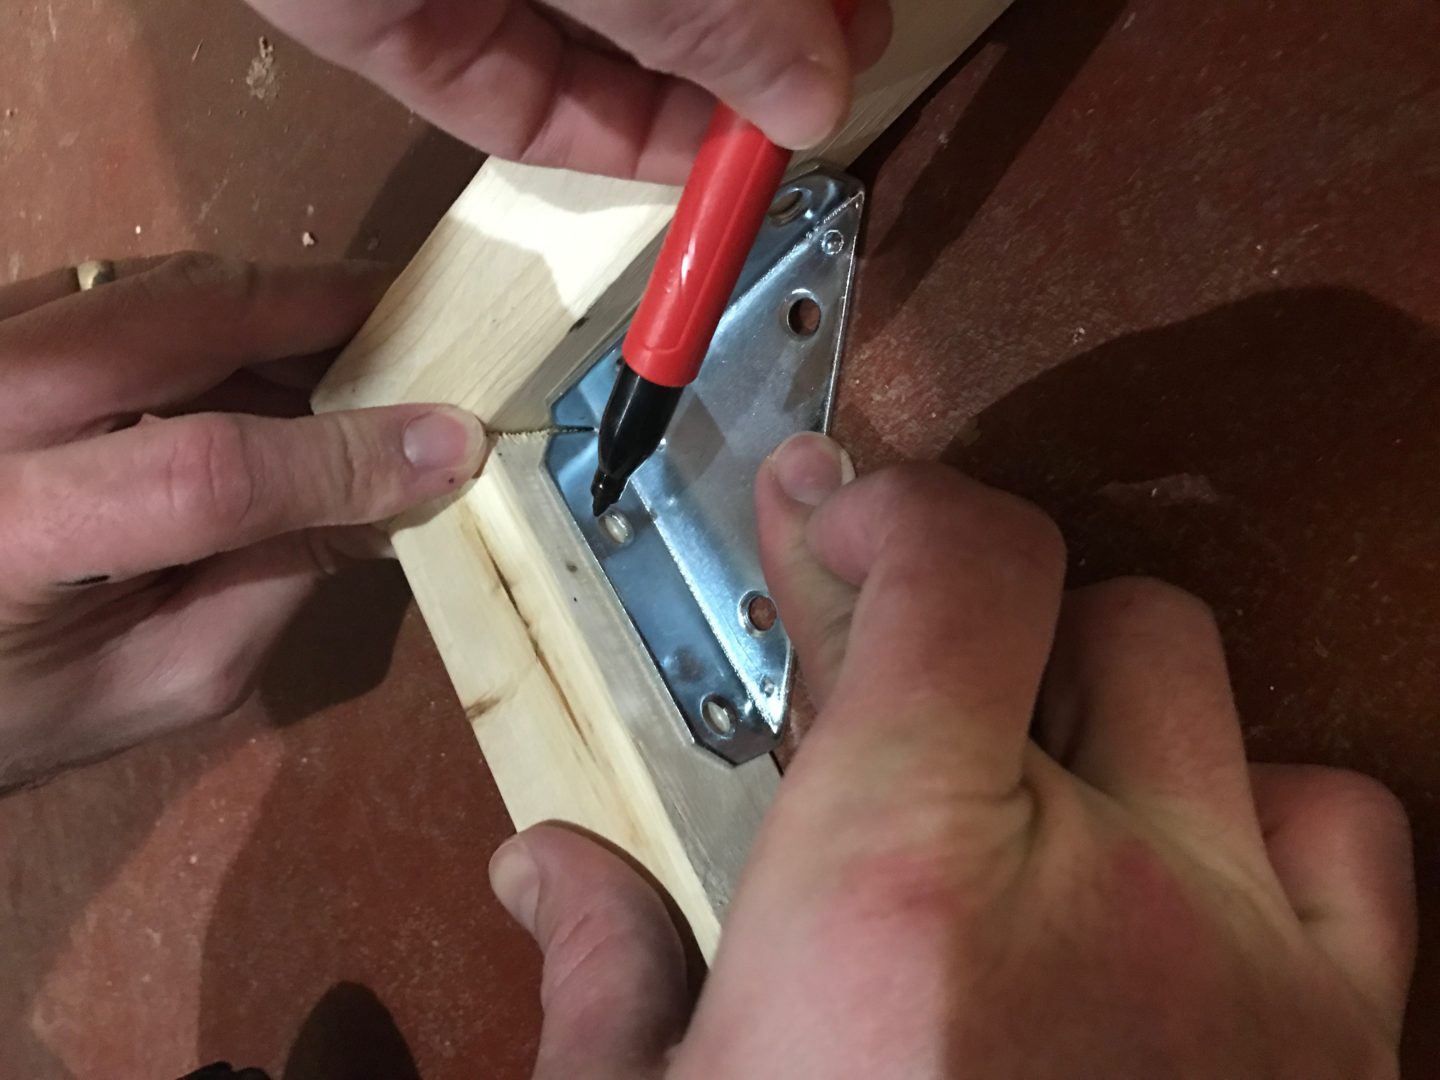
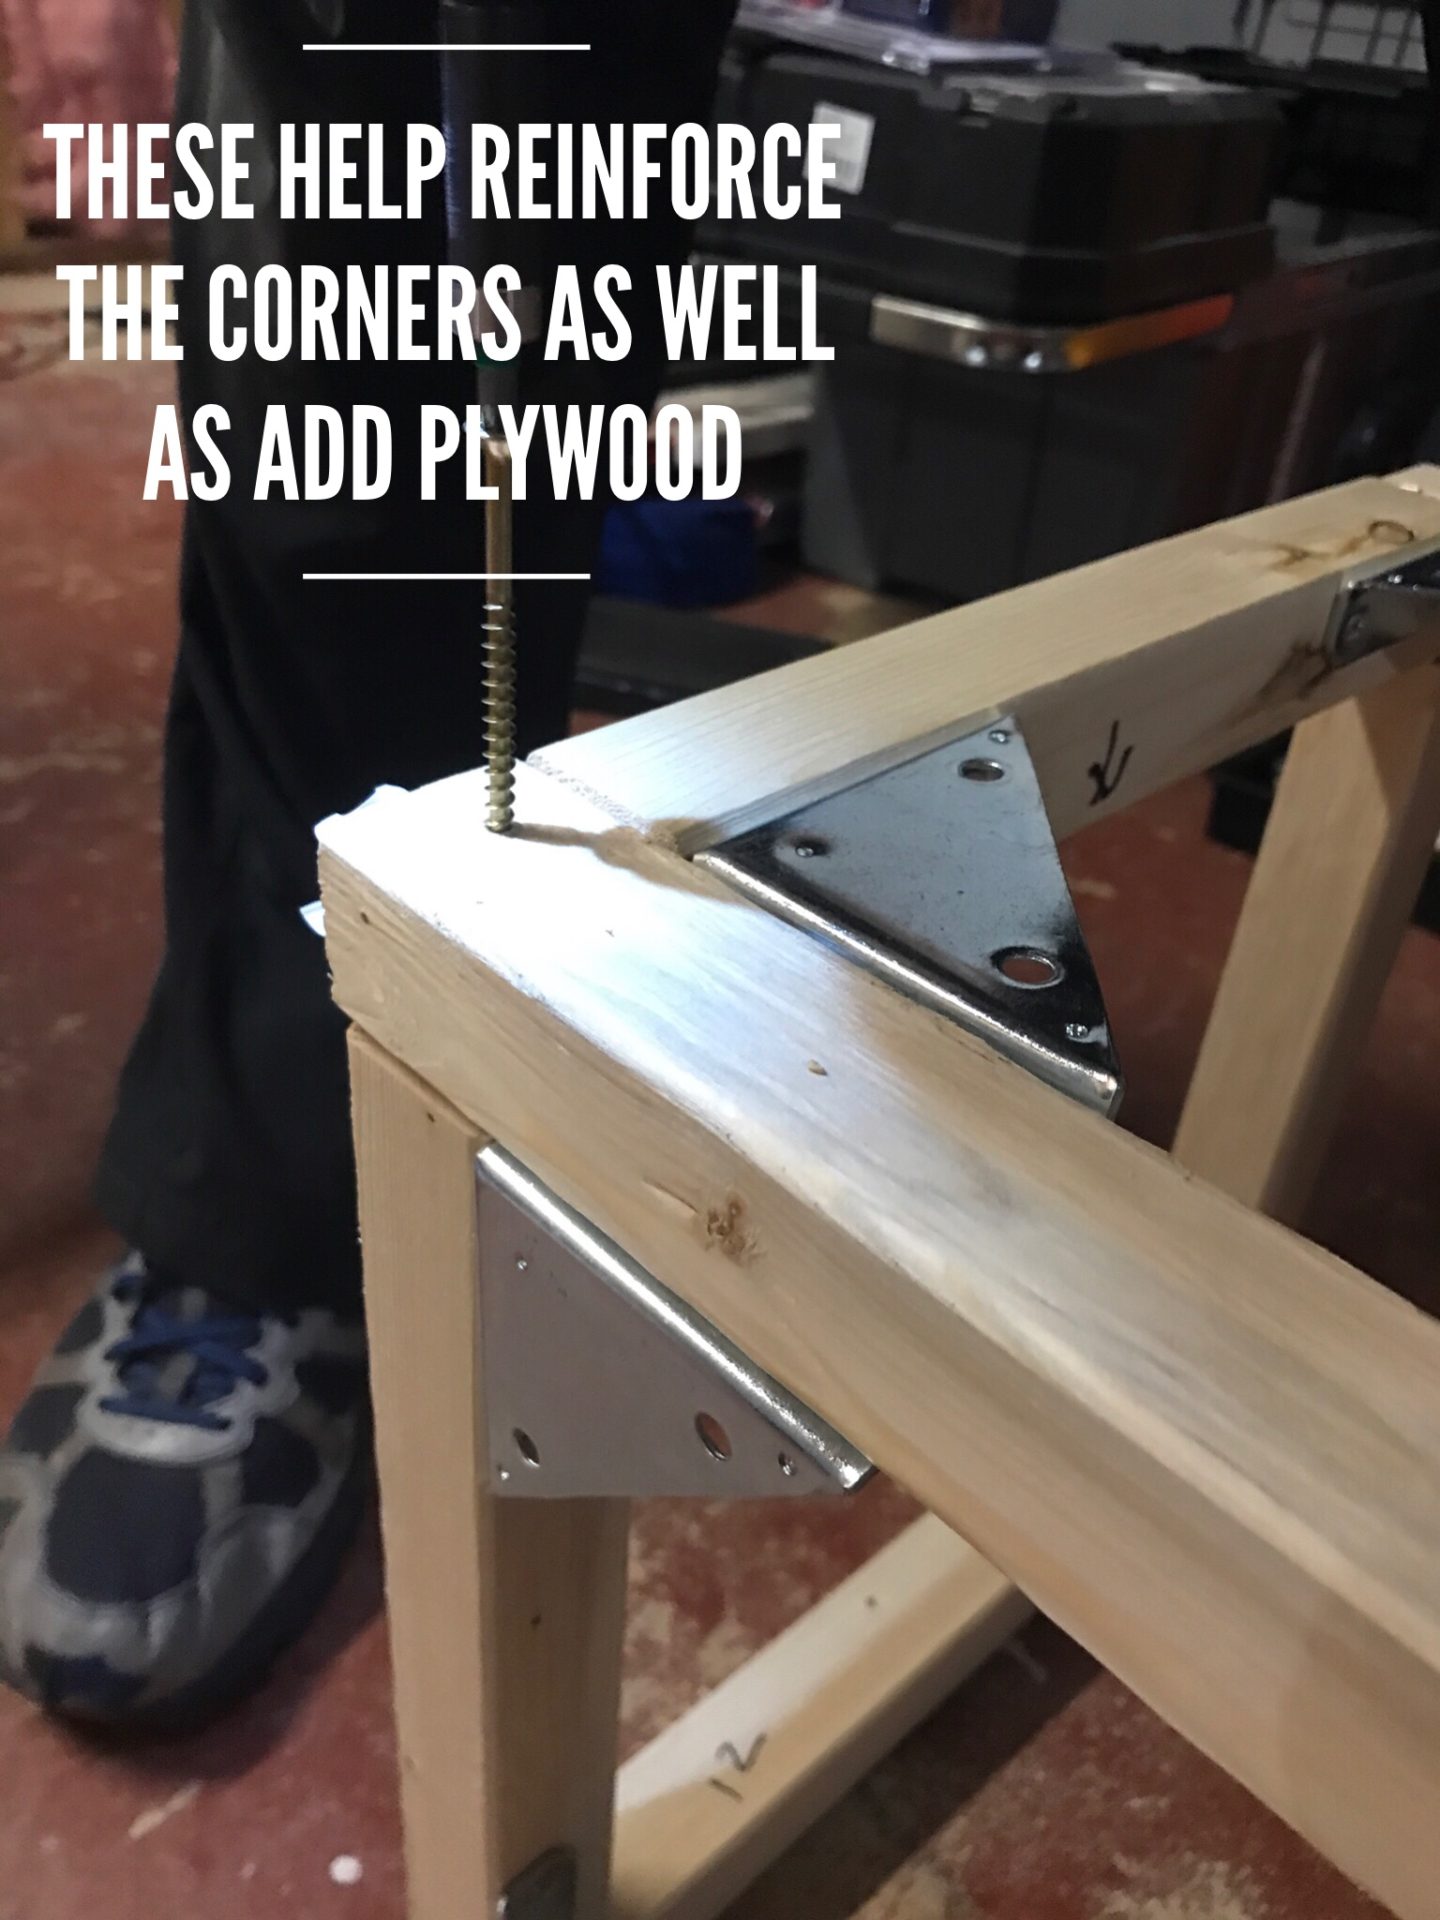
We split the frame space evenly with beams and then reinforced the corners with corner brackets. These will help distribute weight and serve as a means to add the plywood and top later. (The more cross beams you add, the more support you’ll have.) Attach 1/2″ plywood to the face of the framed-out base with a screw, using the corner braces.
***Leave the top plywood to attach later on. ***
Once the frame is built, reinforced, and fitted, make sure to cover any screws poking through with puddy.
Time for a Fit Check
Try the bench again for fit. This time, fit the fabric for size as well. Line it up and mark it.
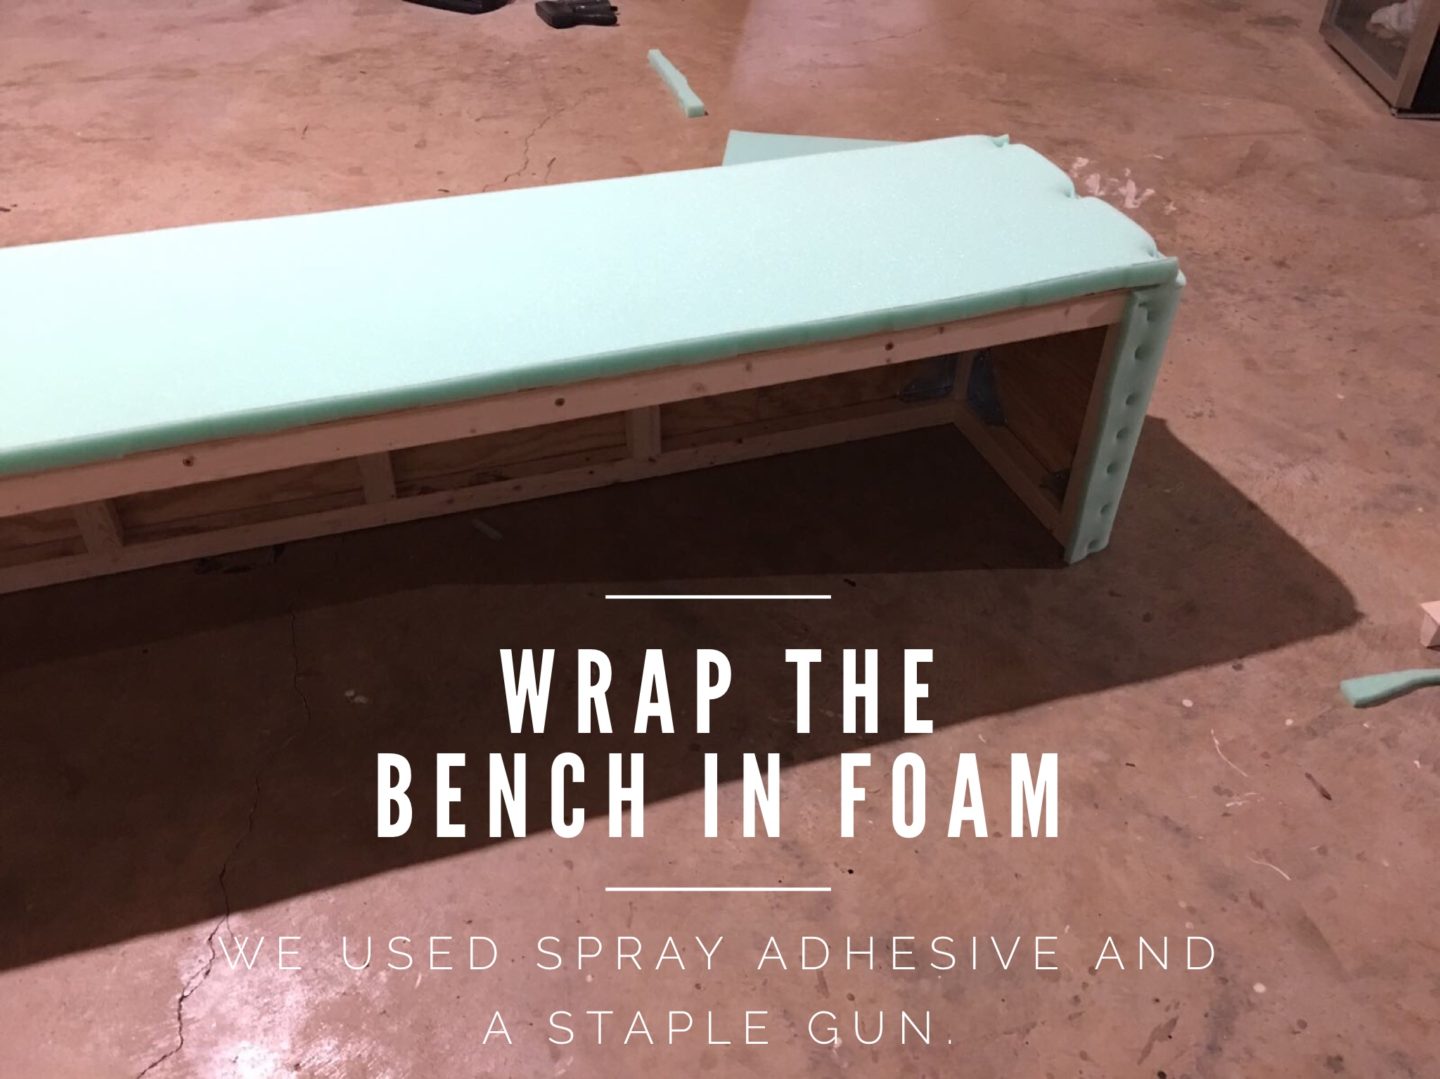
STEP 3: Foam Fitting
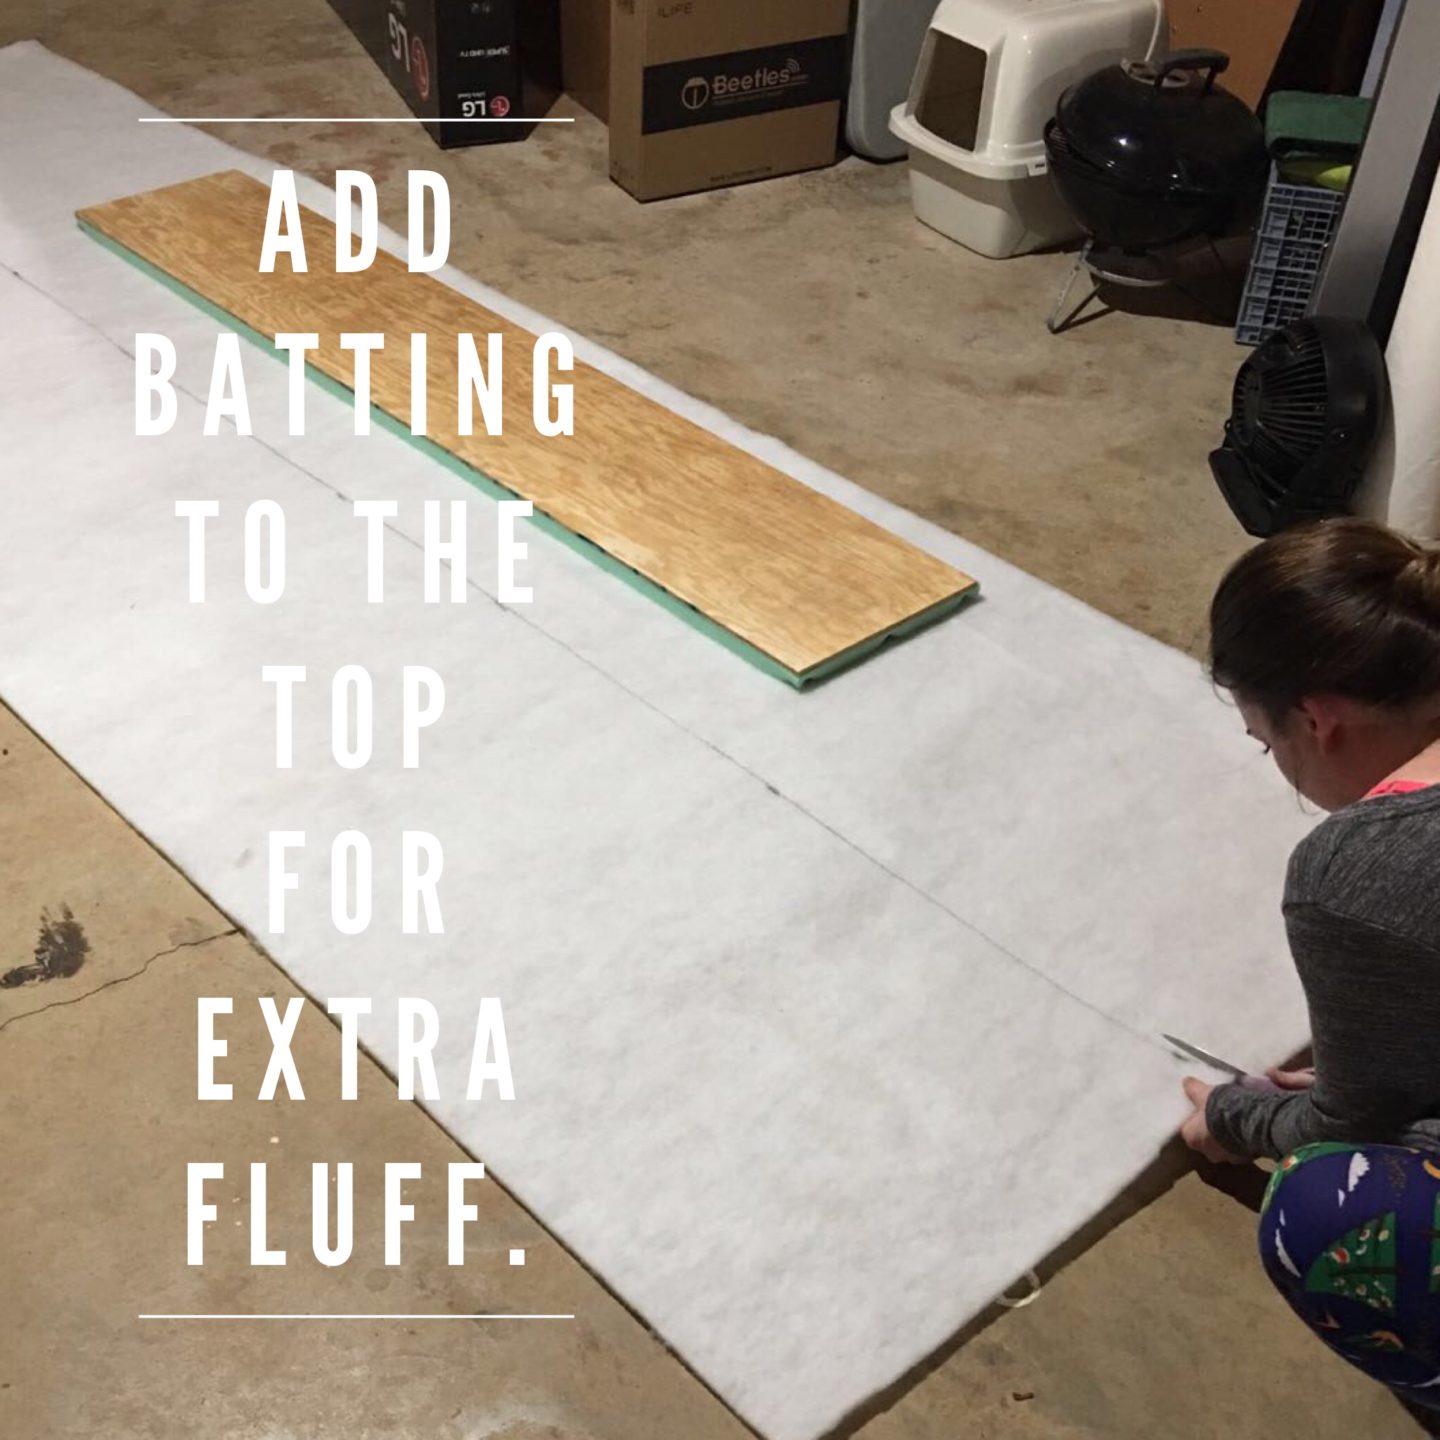
Cut the foam to size. You can trim it a little later, but it should be pretty fit before attaching it to the plywood. Use spray adhesive (outside or in a garage/basement – it goes into the air and is impossible to get off your hands. Gloves would be smart.) to attach the foam to the wrap around the front of the base and the separate top. Our bench was longer than the foam I found, so if this happens to you, seam it on a corner. *See Photo Below* Secure foam with a staple gun. Add batting to the top piece for extra fluff. I used the spray adhesive and staple gun.
STEP 4: Fabric
Now it’s time to cut the fabric. Attach fabric to the base with a staple gun, just like wrapping a present. Take your TIME!!!! This is a two-person job to get it perfectly lined up. I used a classic hospital bed tuck to keep the edges clean. Attach fabric to the separate top piece.
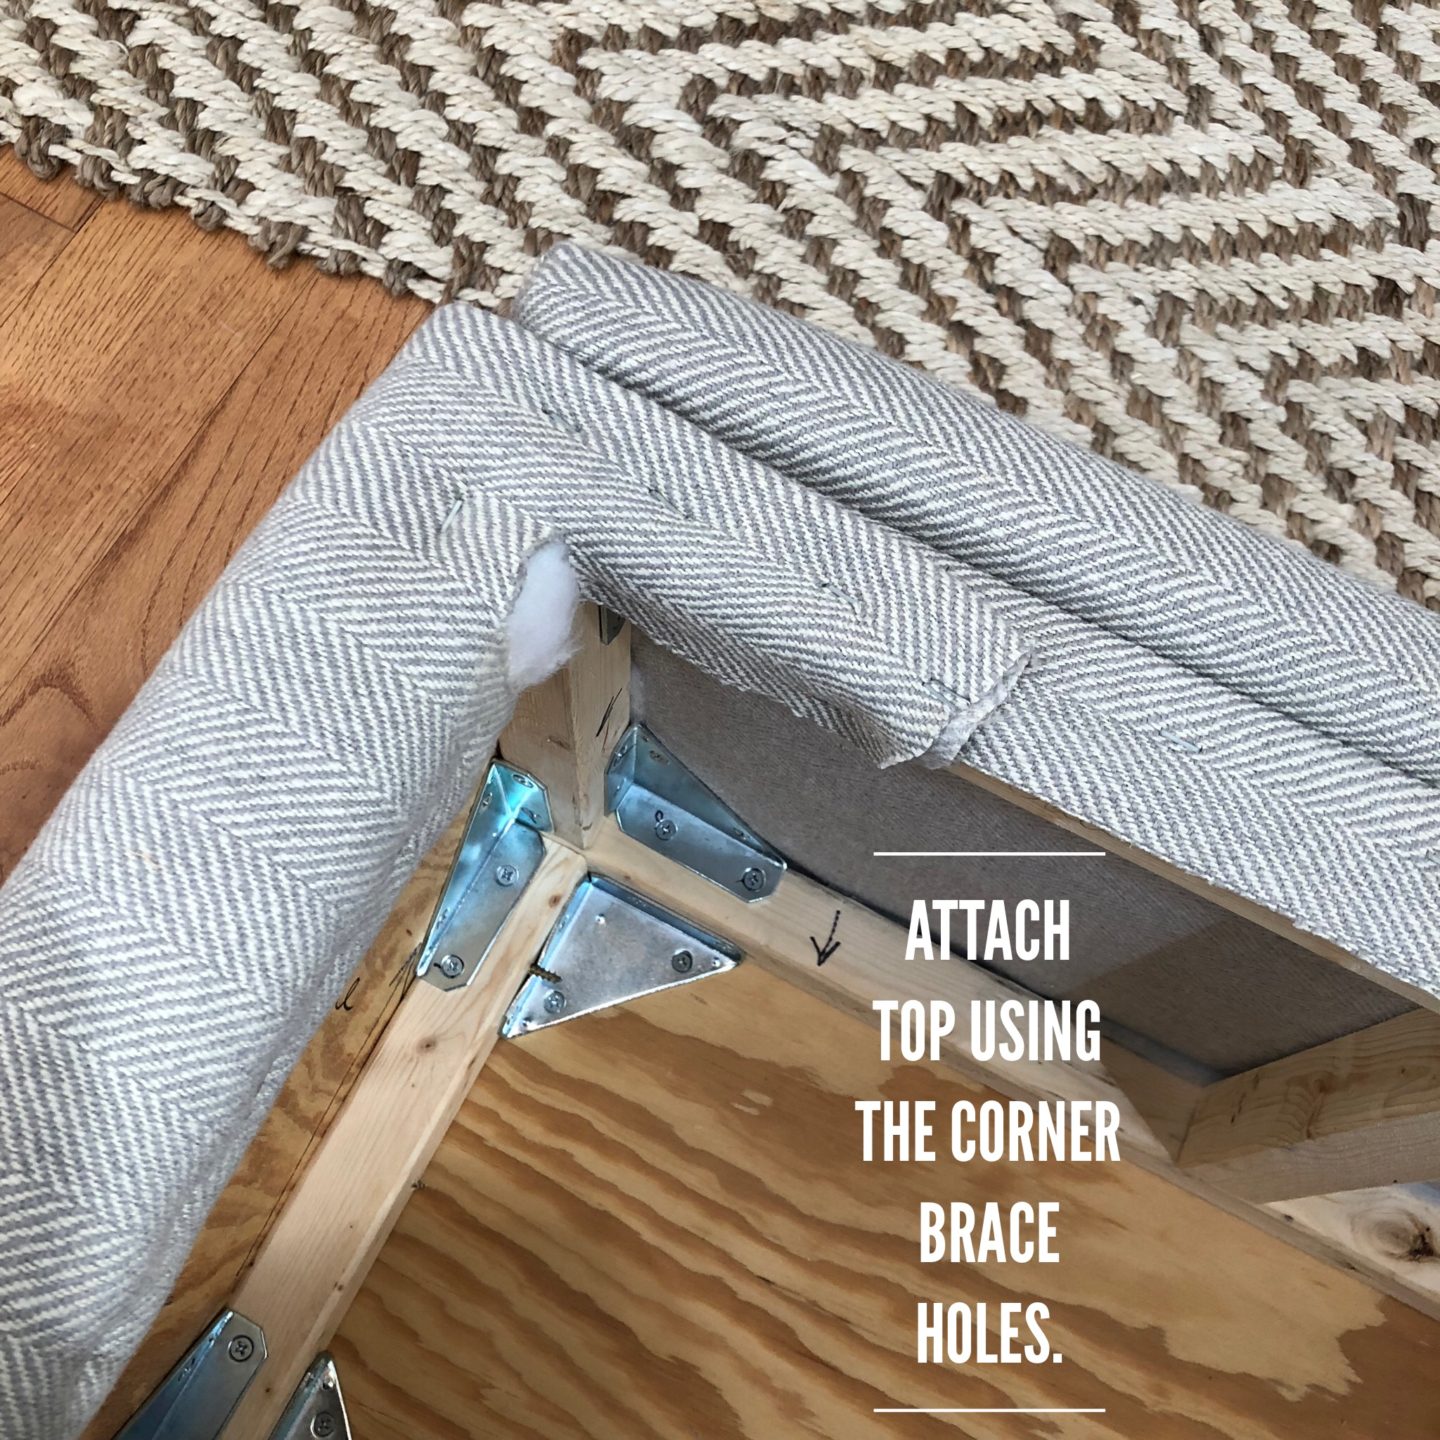
STEP 5: Add the Top
Screw the top piece onto the base by using the holes in the corner brace. Scotchgard it, and you are done!
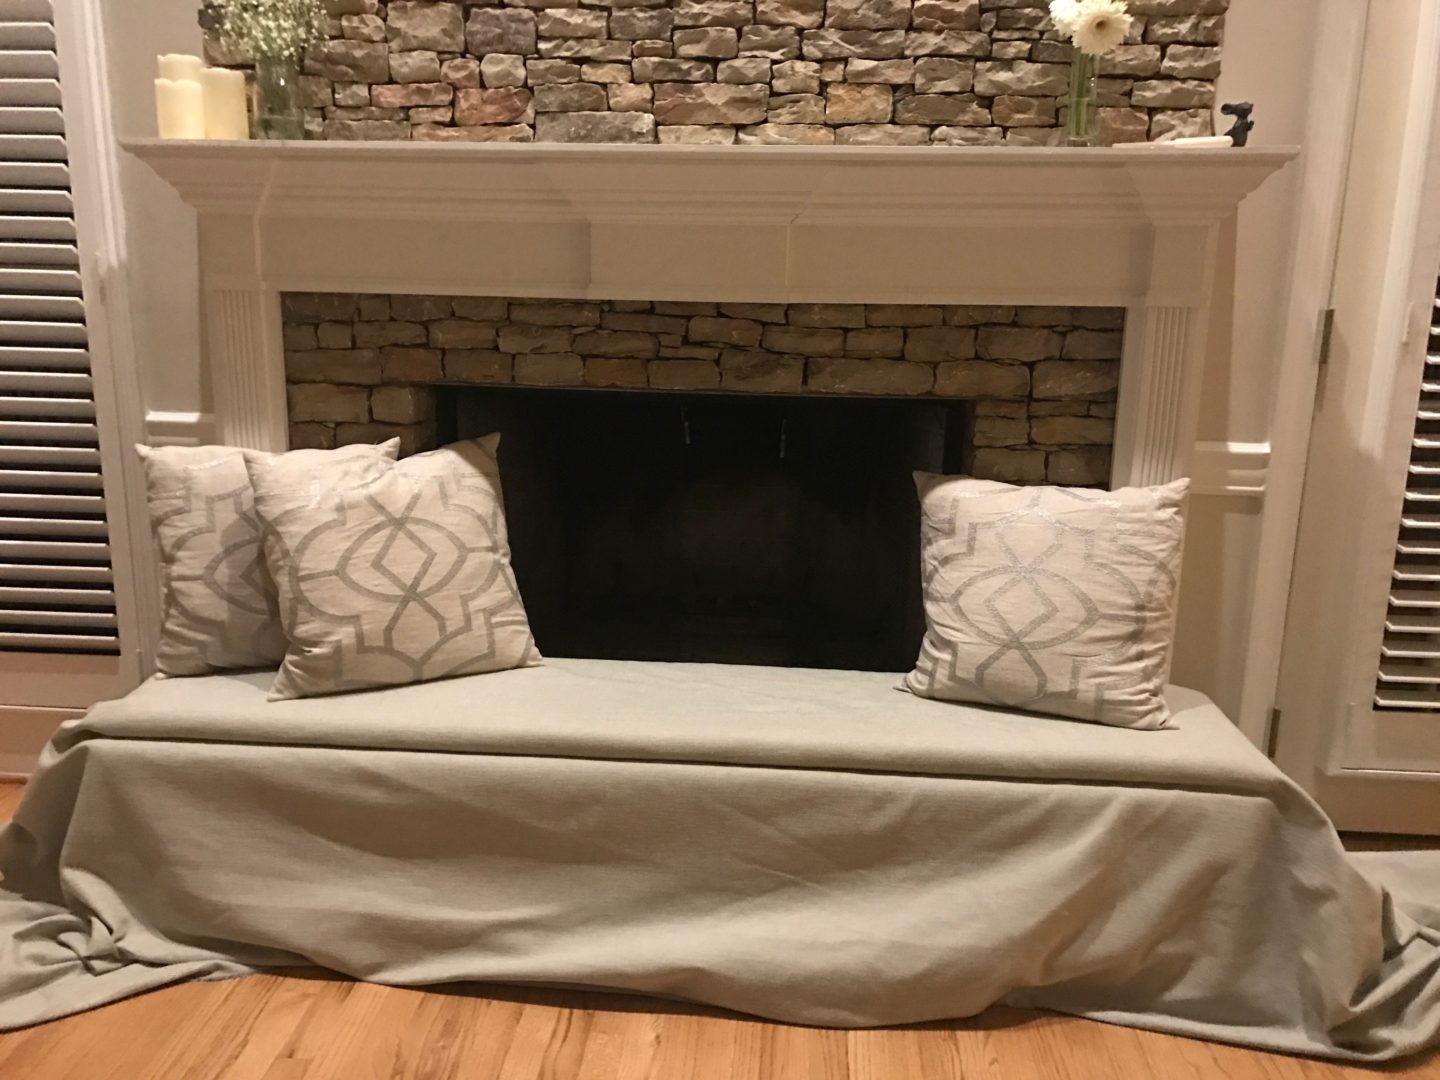
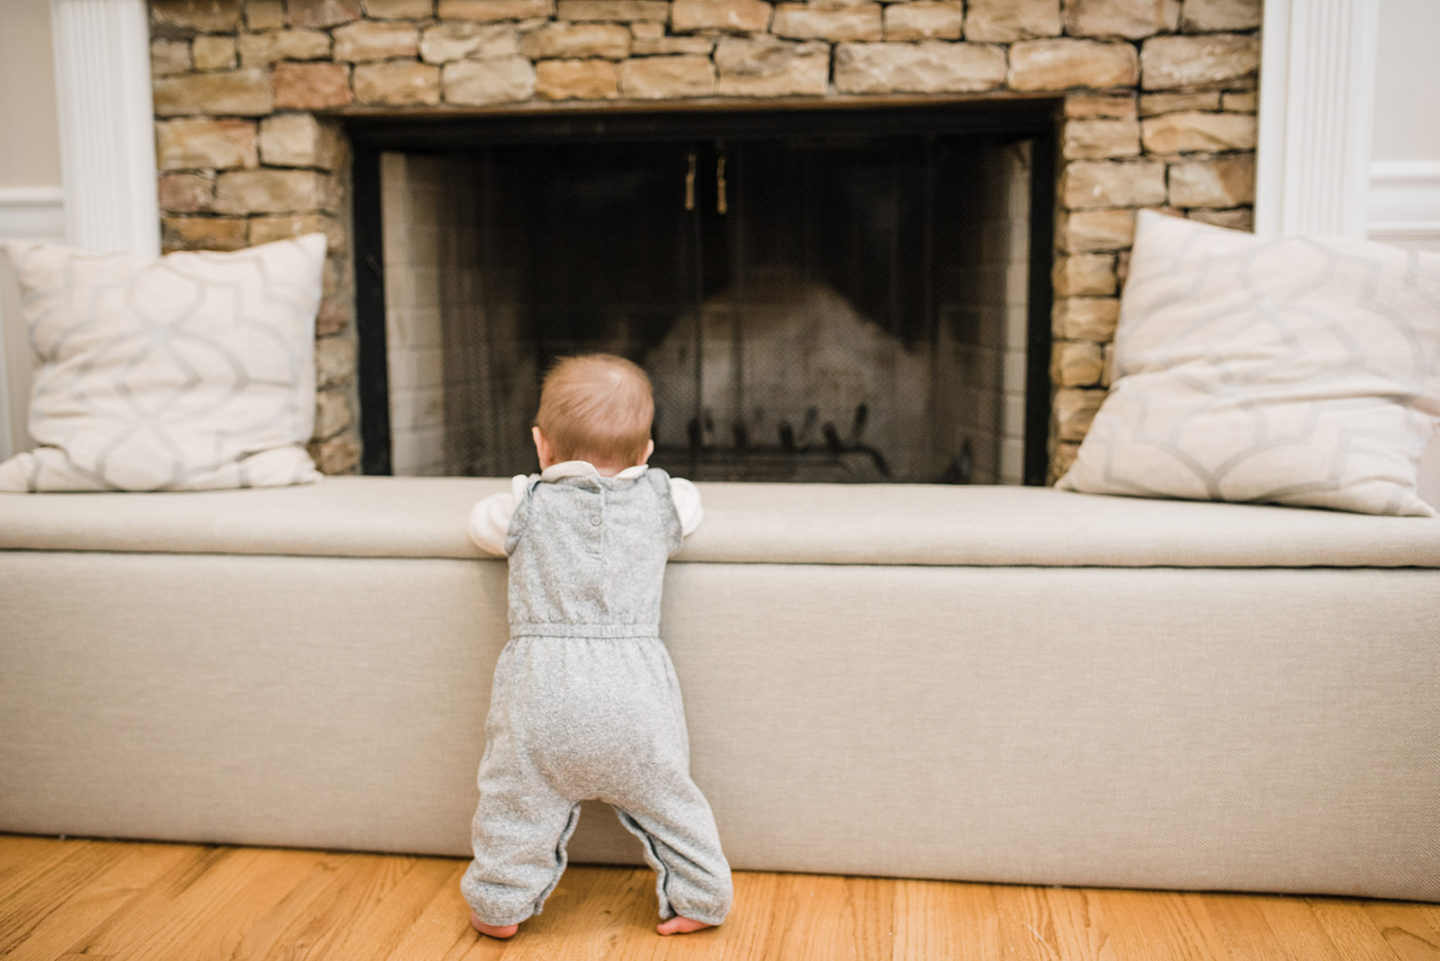
Before and After Baby Proofing the Fireplace Hearth
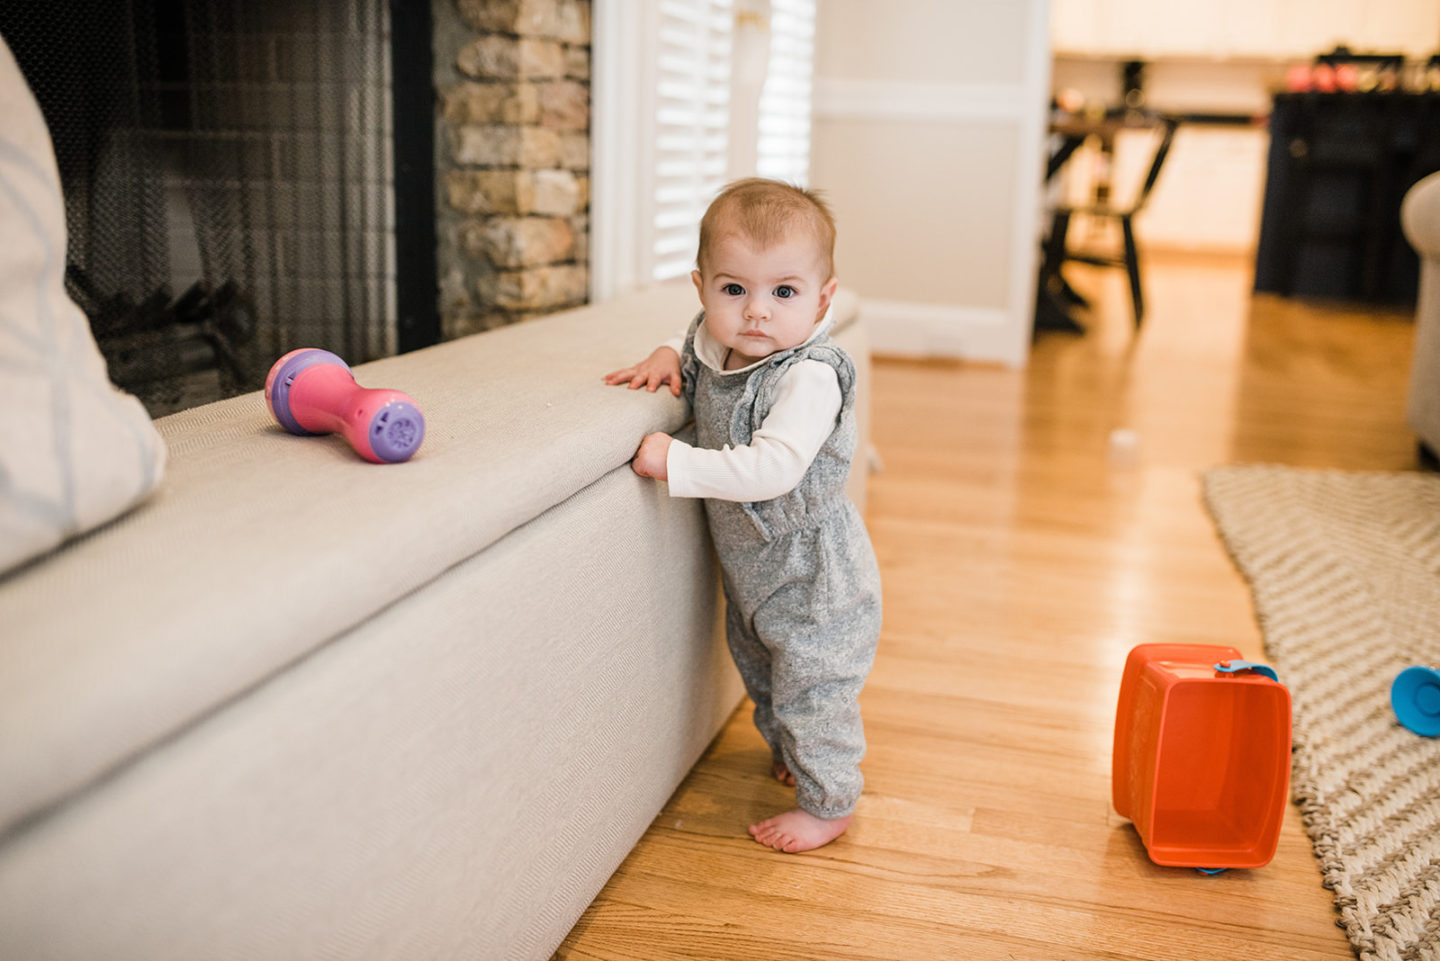
Danger Free!
The idea was to make a bench that matched our couch, add removable padding to the fireplace, and provide extra seating! It came out pretty amazing and wasn’t impossibly hard to make (This was our 1st DIY!). We spent about $200 total. When you make your own, tag us so we can see!
THIS POST WAS ORIGINALLY PUBLISHED IN 2018 AND HAS SINCE BEEN UPDATED FOR 2025.