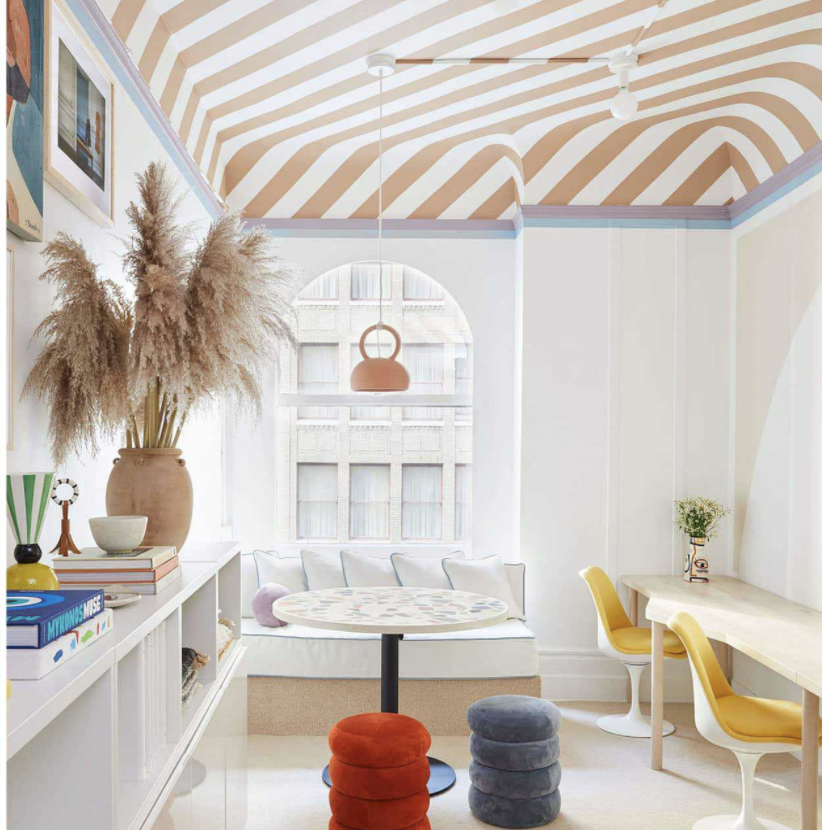
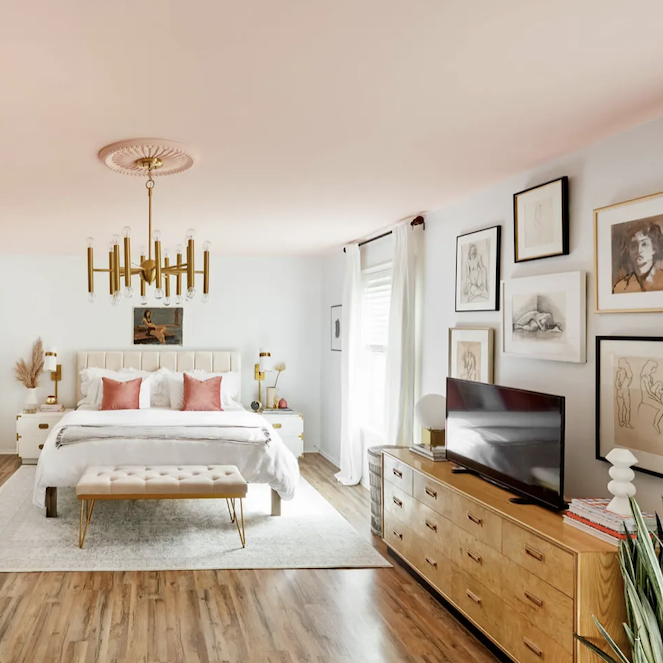
There was something about Reegan’s room that just didn’t feel finished. I had ordered the curtains. I could imagine everything. It just didn’t feel capped off to me (pun intended). I looked through my saved images on Instagram for some inspiration and realized I had been saving painted ceilings time and time again. Well, that’s interesting. An accent ceiling! Two days later, I went for it.
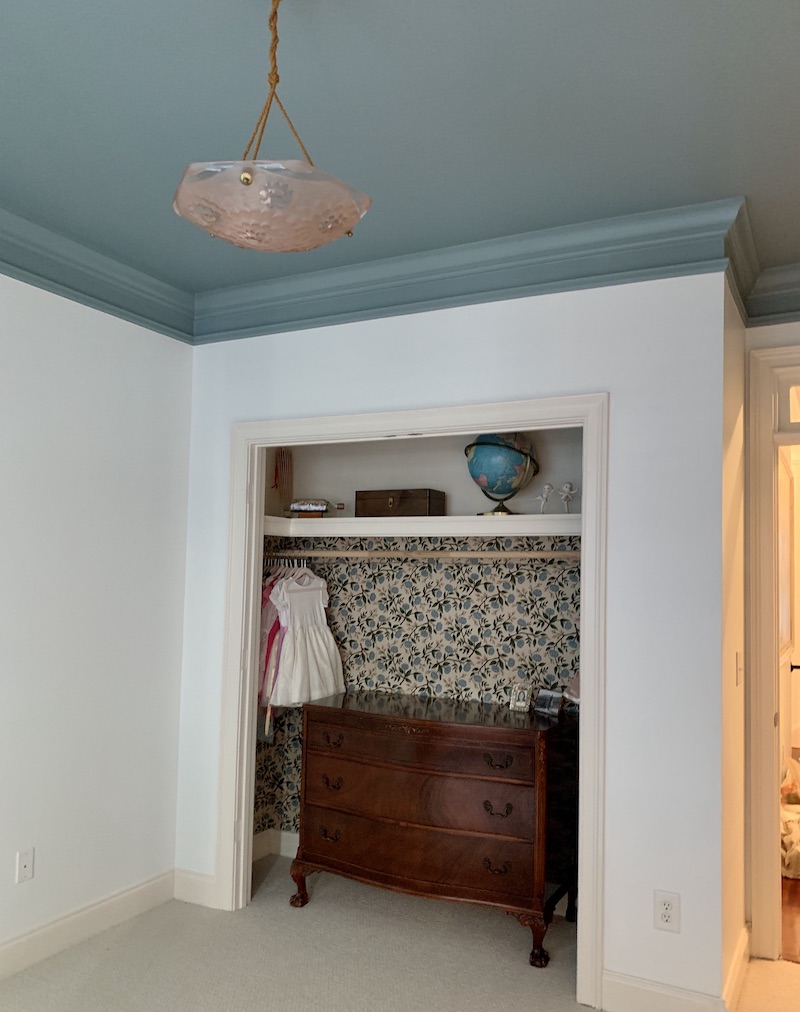
What is an Accent Ceiling?
An accent ceiling is most common with crown molding ceilings; without molding an accent ceiling can look very modern. With molding, it looks like an English cottage-inspired room fascinator. For our accent ceiling, I went with Farrow & Ball Oval Room Blue. It picked up the colors in Reegan’s closet fabric and added a soothing effect to the room as a whole.
Tools Needed to Perfect an Accent Ceiling
Delicate Frog Tape | A small amount of original wall color paint | Flat Ceiling Paint | Satin Trim Paint (in the same color as the ceiling) | Paint Brush | High-Density Roller | Drop Cloth
5 Steps to an Accent Ceiling
I had originally hired a painter for this project because I was afraid of getting paint on our new white carpet. When the guy was a no show, I rolled up my sleeves and did the entire project by myself in about 4 hours (breaking for kids). You’ll want to make sure you have all of the prep supplies ready to go. While not a difficult project by any means, you want to be focused.
TIMELY TIPS!
If you are wanting to do a chunk one day and another chunk the next, choose to either start with this taping process or go from the middle of the ceiling out. Doing the edges absolutely last. I painted between the molding knowing it could be messy, then moved between detail work and speedy results.
Step 1: Prep Your Floors!
Preparation is always key. For this project, make sure to use a thick drop cloth or plastic to protect your floors. Gravity will take a few drops to the floor no matter how careful you are.
Step 2: Take Your Time Taping
Taping the bottom edge of the crown molding will make or break this project. Go slowly and line up the tape. This straight edge will be the line for your paint.
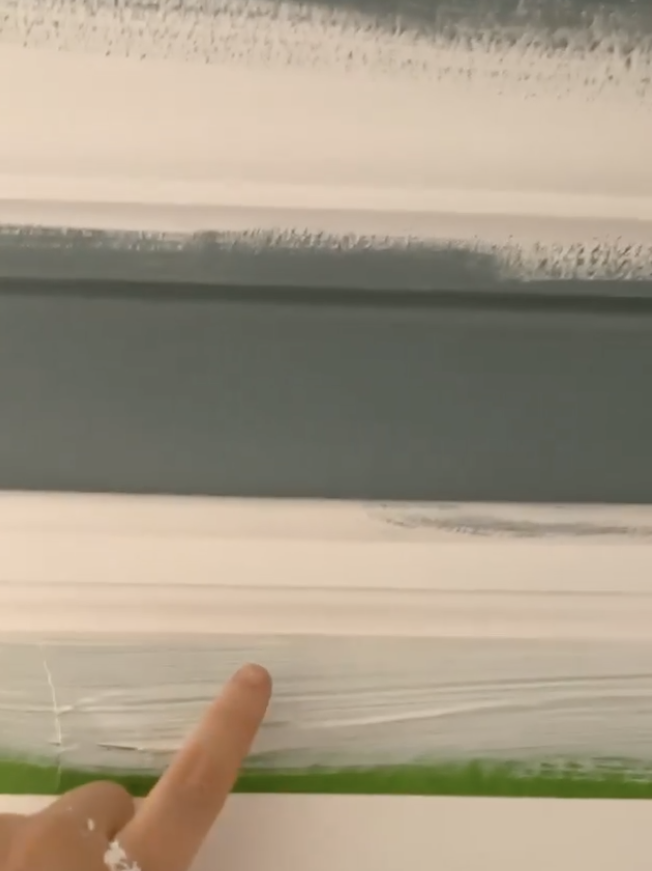
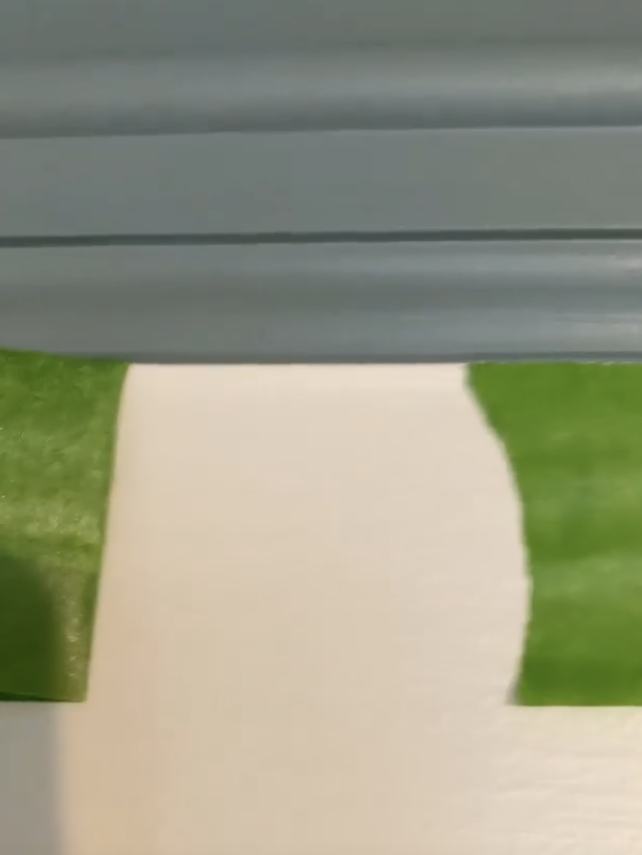
Step 3: Prime Tape with Wall Paint!
This is the tape trick that should be written on the dang label. Whenever using painters tape in a light/dark scenario, paint over the edge of the tape with the wall color that is underneath it. This will seal all of the tape edges from bubbles or bleed throughs.
I went around the room in a circle with the wall paint. You don’t want the paint to dry for days on tape. So you are moving somewhat quickly in this process.
Step 4: Roll It Out!
After I had the tedious work of taping and sealing the edges, I sped things up with rolling out the ceiling. This goes pretty quickly. You’ll want a roller with a low nap. You can even use a roller extension instead of a ladder.
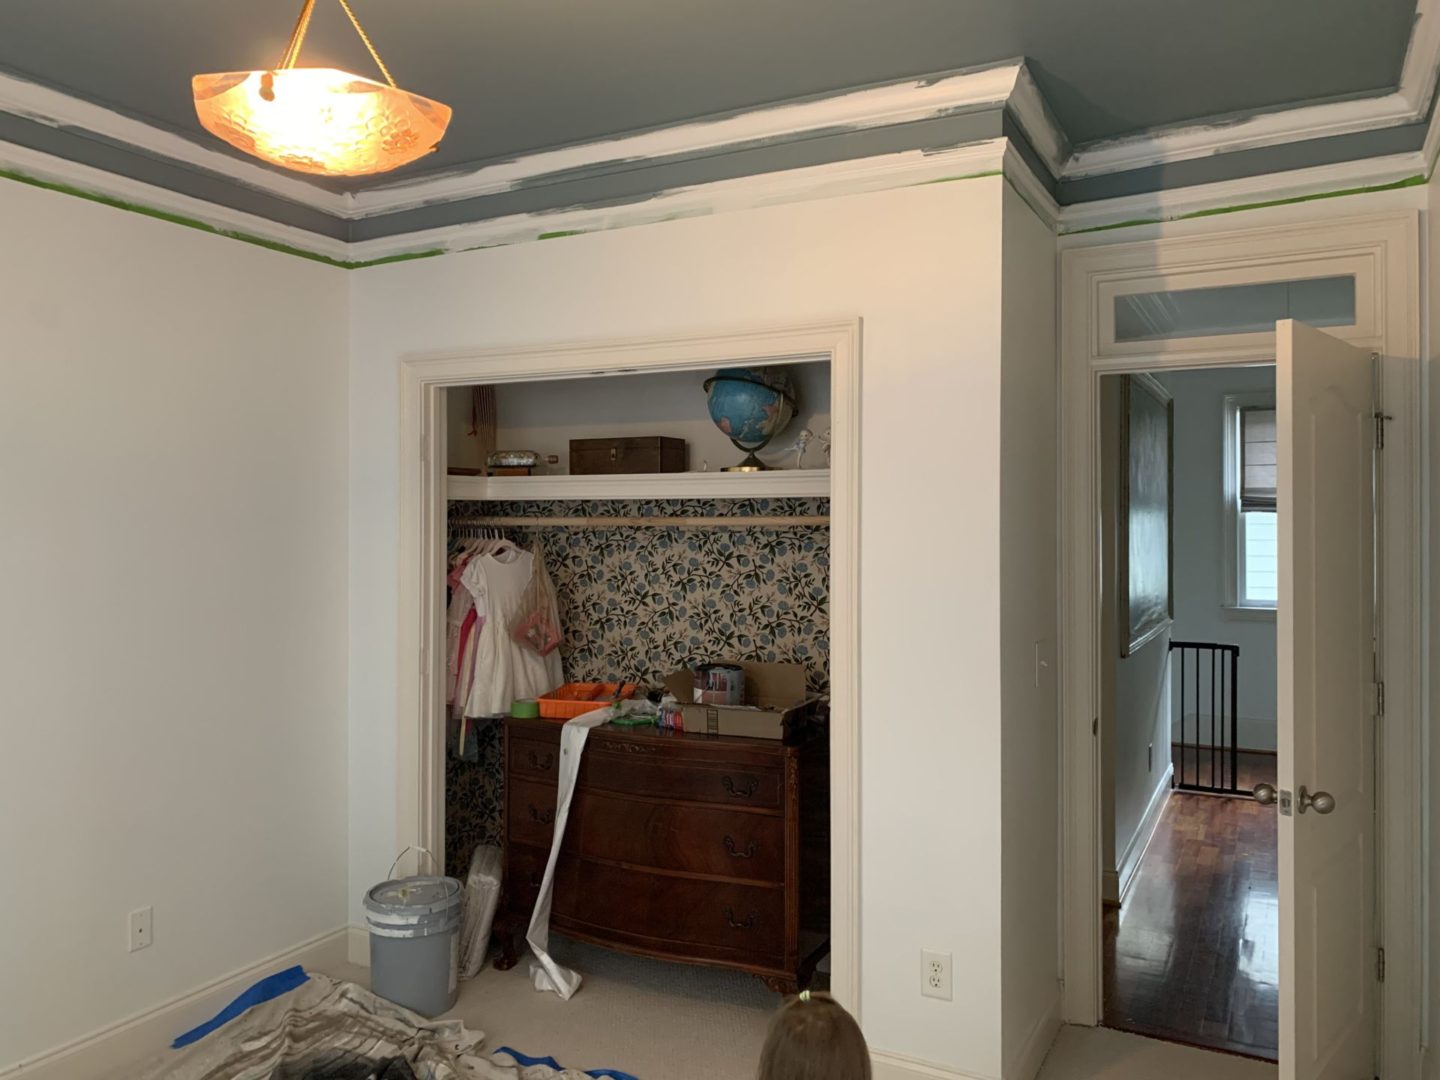
Step 5: Finish with Satin Trim
Because the Trim is the same color. I did this step absolutely last. It adds the lipgloss on to the accent ceiling and makes the project feel finished off. I originally skipped this step in Julias all pink room, and went back in to add the satin finish of the trim. It makes it. I promise. A little goes a long way. You only need a quart or so for this.
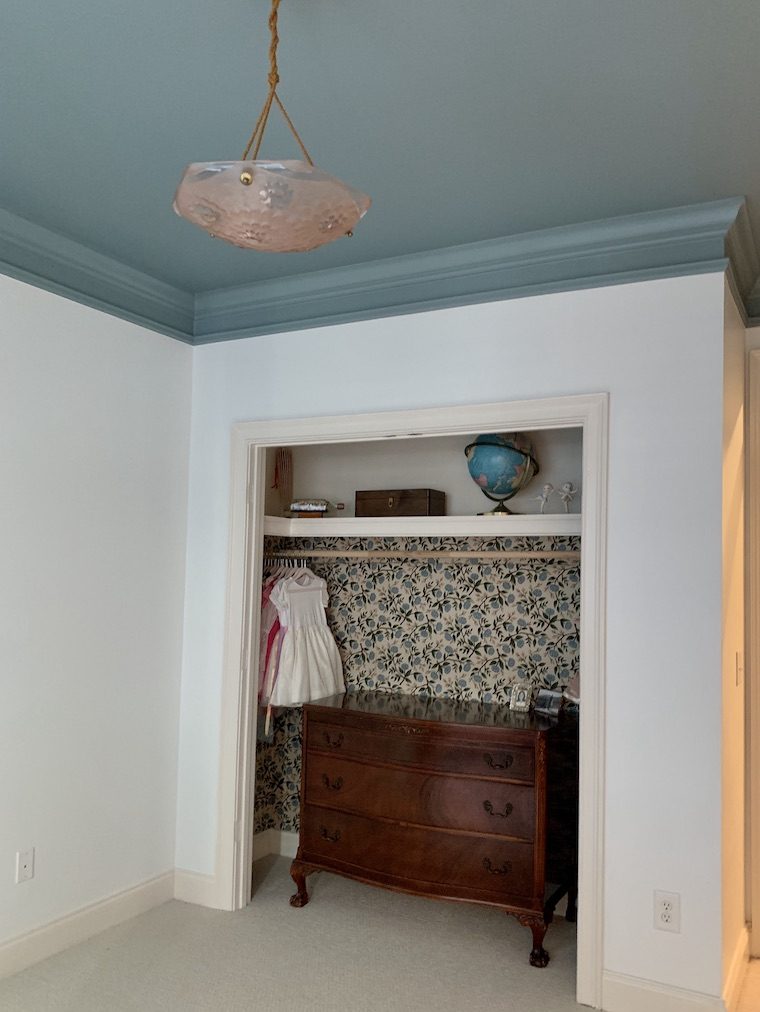
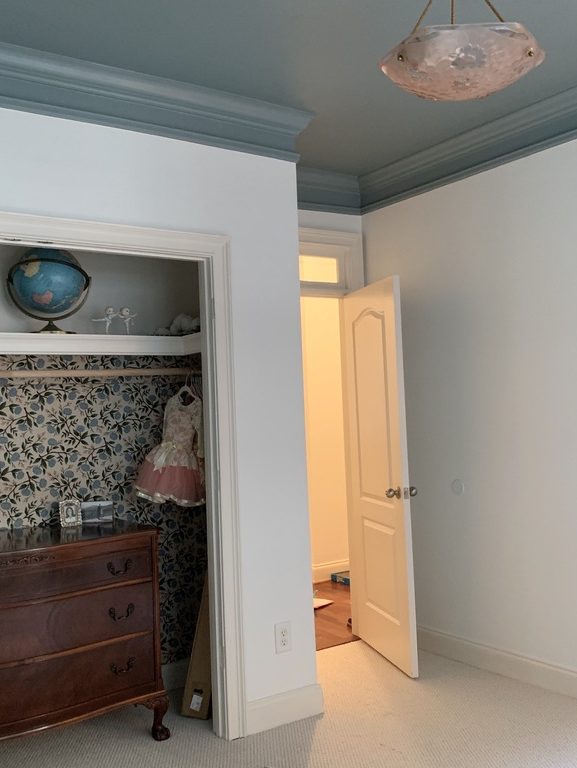
The Final Reveal
Can we get a collective Amen! The ceiling looks so good! It’s playful and still sophisticated.
Some of My Inspiration!
A rainbow of accent ceilings for your viewing pleasure. How good is the striped one?! NGL that must have taken forever.
