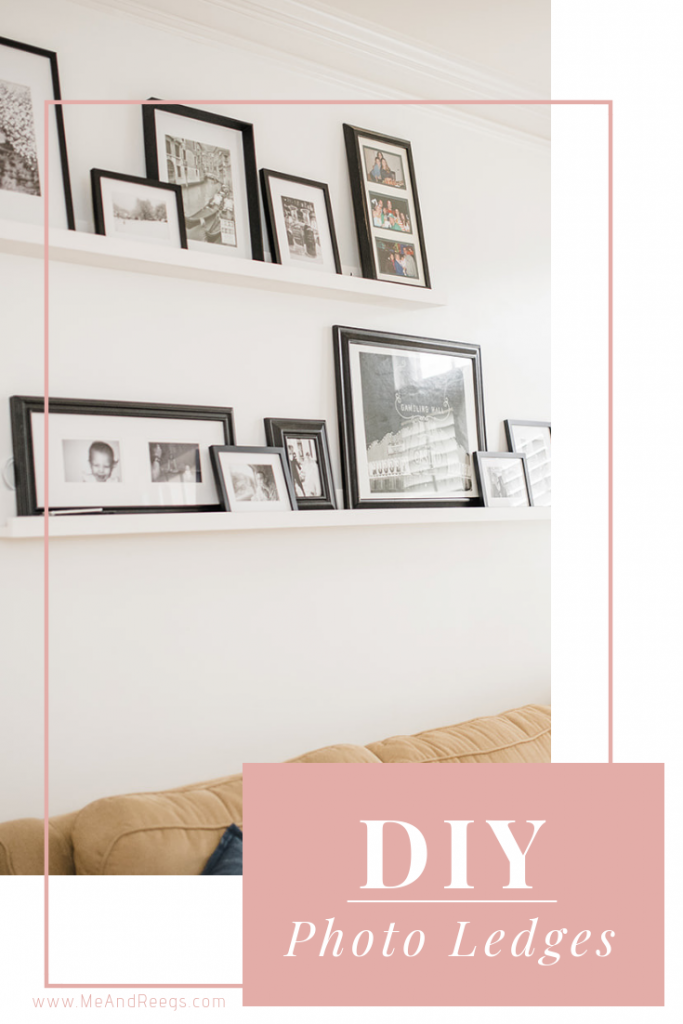
My husband will tell you I LOVE a photo ledge.
They are so easy and versatile and they partner well with loving clean lines and no commitment to decor. With photos you can quickly go from all black and white to pastels or bright colors. The transformation is quick which is my favorite.
We have 6 photo ledges in our home at this point, and I can’t promise I won’t be wanting more. They are in the den, girls bathroom, and my office.
Unfortunately for Jeff, he told me how easy they are to make.
I will preface this by saying, the ones in my office are IKEA and they are great and cheap! If their sizing fits your space… by all means, grab the IKEA ones. But a tailored ledge makes a huge difference.
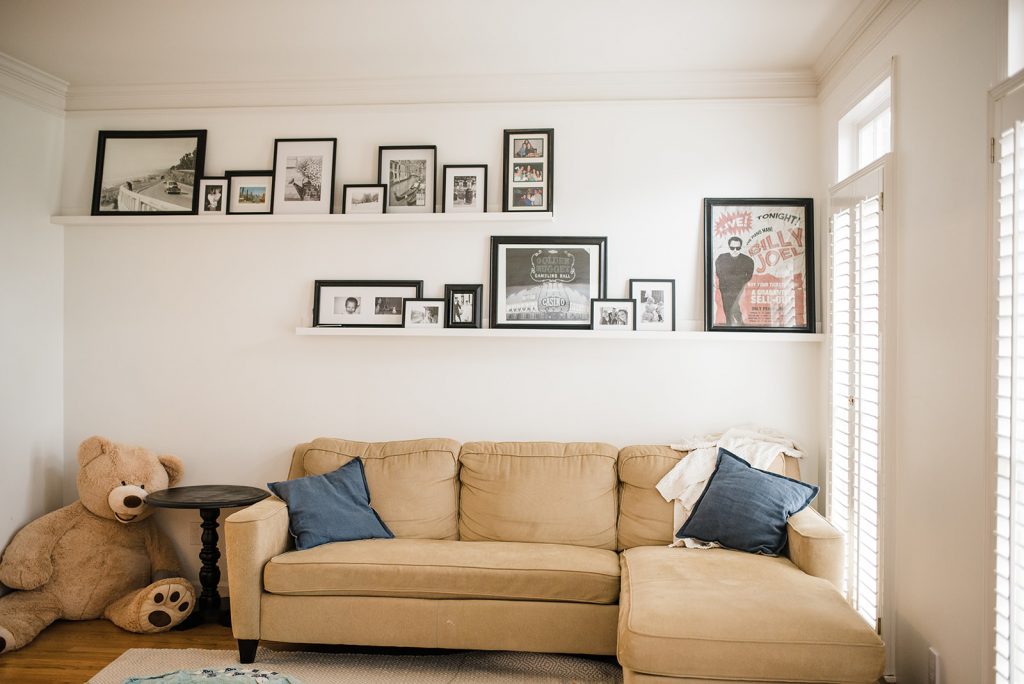
Our den ones are extremely long. About 101″ each.
__________
The ones in the girls bathroom are 41″

Supplies For Your Photo Ledges:
We used primed 1×4’s from Home Depot for our DIY Photo Ledges.
You will be cutting these to length.
Ours are made with 1×4 back, 1×4″ bottom, 1×1.5″ front edge. We made the 1×1.5″ out of our 1×4’s by using our table saw to rip them down to size.
__________
You will also need:
DryDex Spackling (we use this instead of wood filler over the nails!)
Nails for Nail Gun – we use 1.25 inch nails.
Table Saw (Home Depot won’t make the 1x4s to 1x2s
Paint of Choice (I used our trim paint)
__________
__________
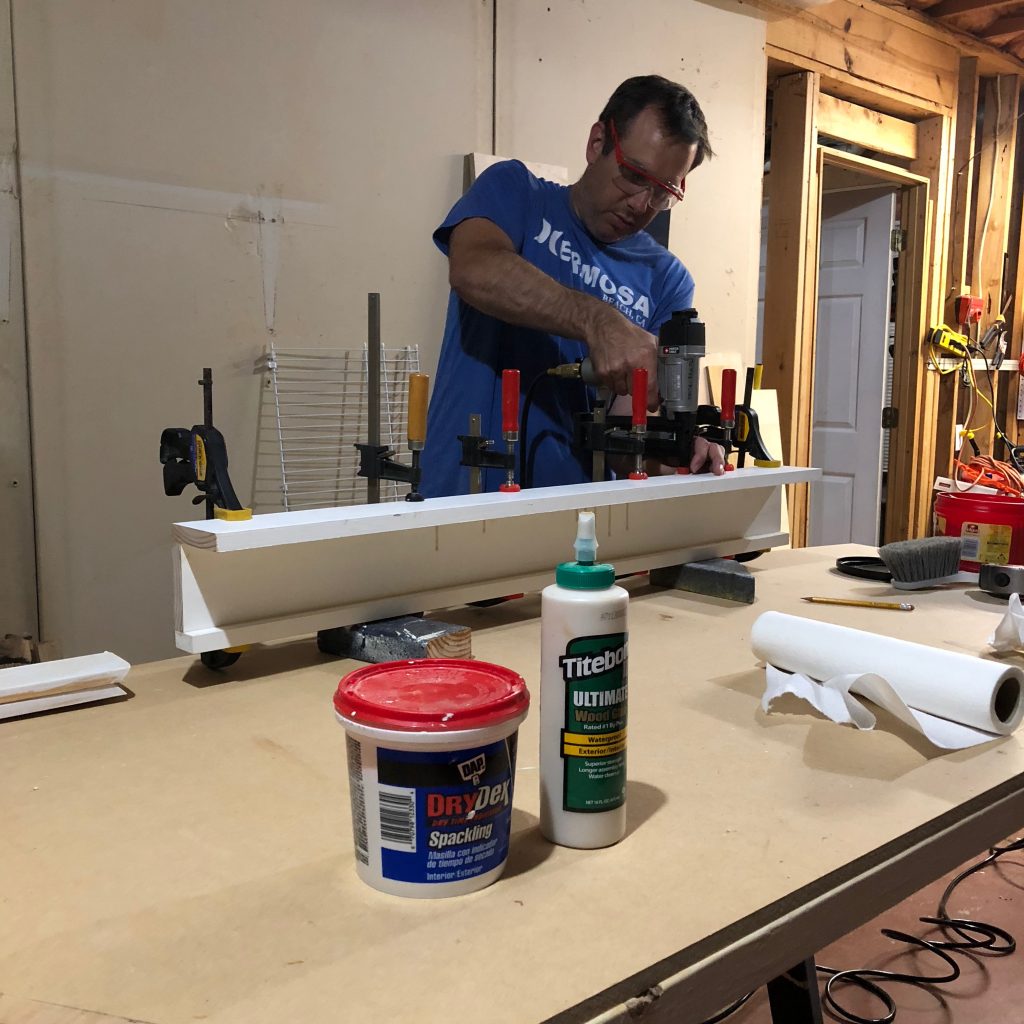
Here is How to Make Them:
Cut your primed wood to the length need. You’ll need 2 1×4’s and a 1×2 per photo ledge.
Drill the countersink drill bit to add holes for your dry wall anchors in the board that will be your backing. We like to add at least 3 holes on our boards. First hole is the center of the board, and then the center marking between that hole and each side. This allows for weight distribution and less worries about ledges falling.
Add wood glue to one edge of the bottom 1×4. You will be clamping this front edge to the back of the front edge piece. Creating an L shape. Use a thin line and spread it out with a stirrer. Wood glue dries quickly and is incredibly effective.
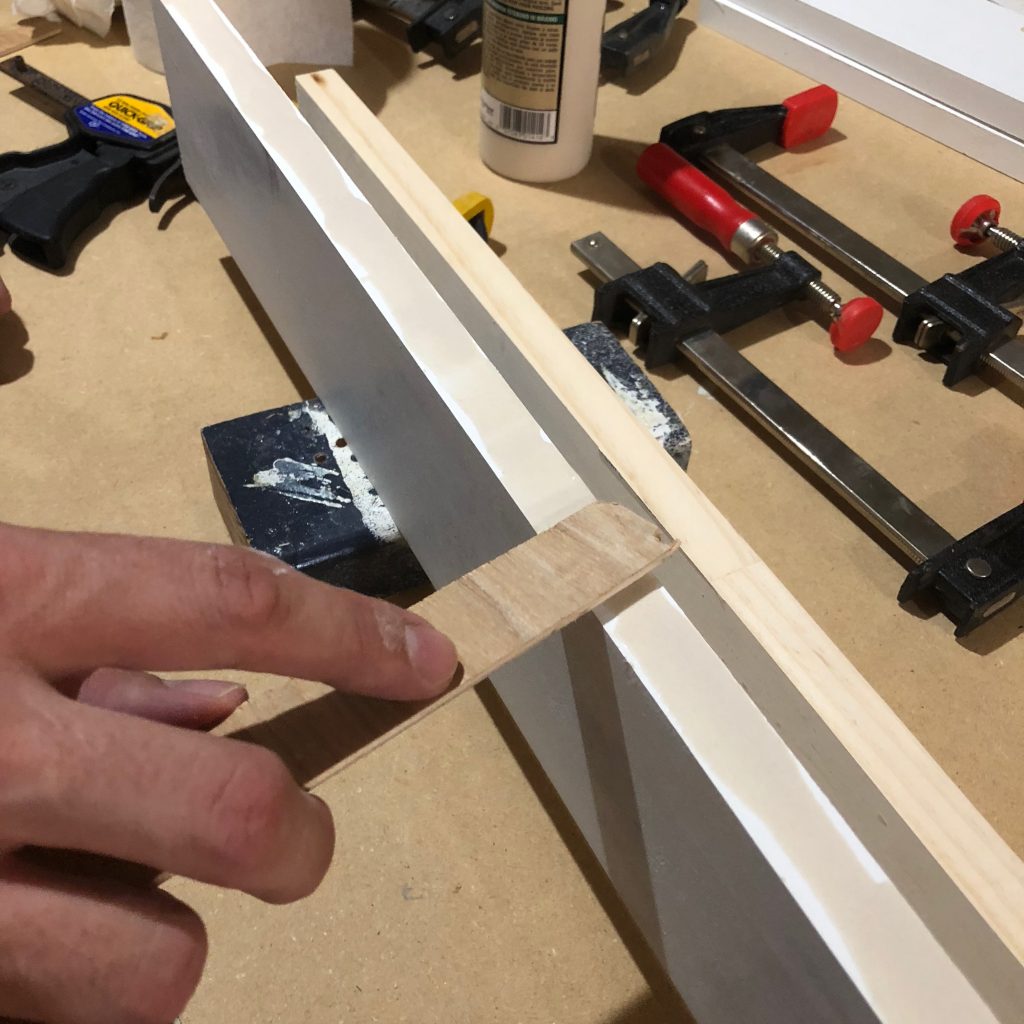
Once you are clamped. Use a paper towel to wipe the squeezed glue from the boards. It dries quickly!
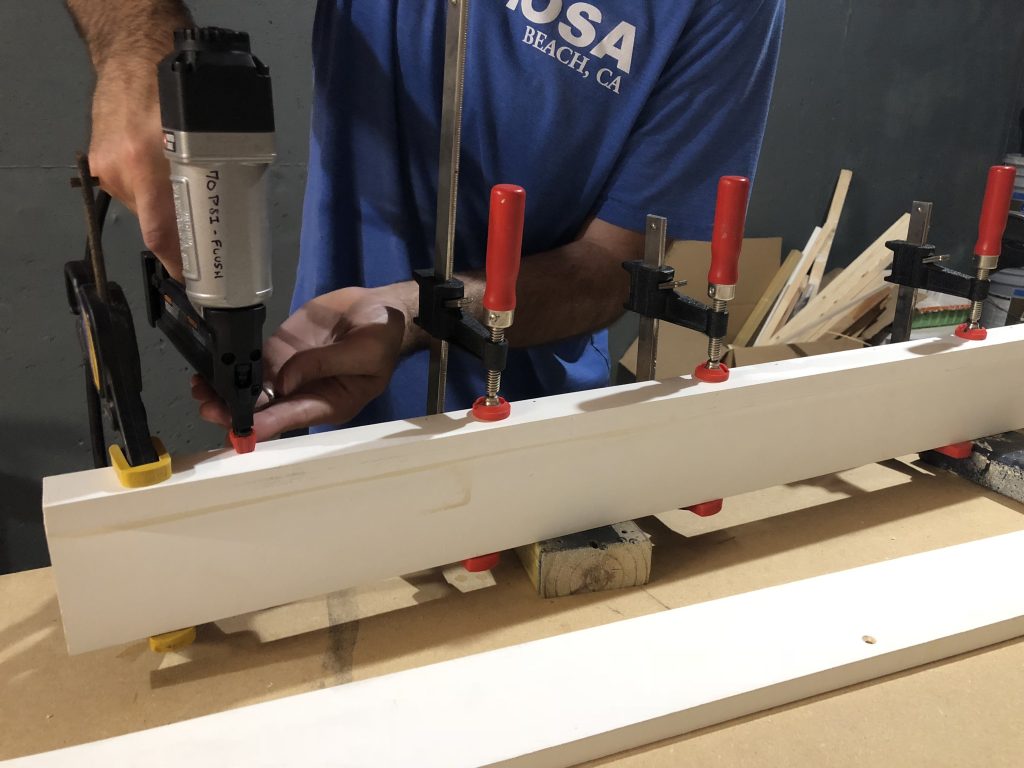
Now, you can nail gun the 1×2 face on. You can do the front ledge first or the back panel first. It works either way.
Place nails every 5-6 inches for added support. Make sure to line the nail gun’s safety up with the bottom edge. Avoiding nails popping through your boards.
Once your nails are in place, switch the clamps adding in the 3rd board.
Repeat with the back edge.
No need to stress it will be held in place.
The next day, I used our 220 grit sandpaper to smooth any dried glue or rough patches, and wiped the ledges down with a rag.
Before painting, I wiped the ledges one more time with a tact cloth. Tact clothes are stick gauze cloths they take off all excess dust. This provides a smooth finish.

I like to use the trim paint for our ledges so they match. I am usually butting ledges up to a door trim. I find it helps them look original, and I already have the paint.
You also might notice that I use an angled edging Wooster Shortcut brush. I love these brushes. They finish well and are incredibly easy to handle.
Hot Tip?If you need to take a break mid painting, wrap your brush in a plastic grocery bag and put it in the refrigerator. Keep it from hardening and it’s ready to use again when you are ready.
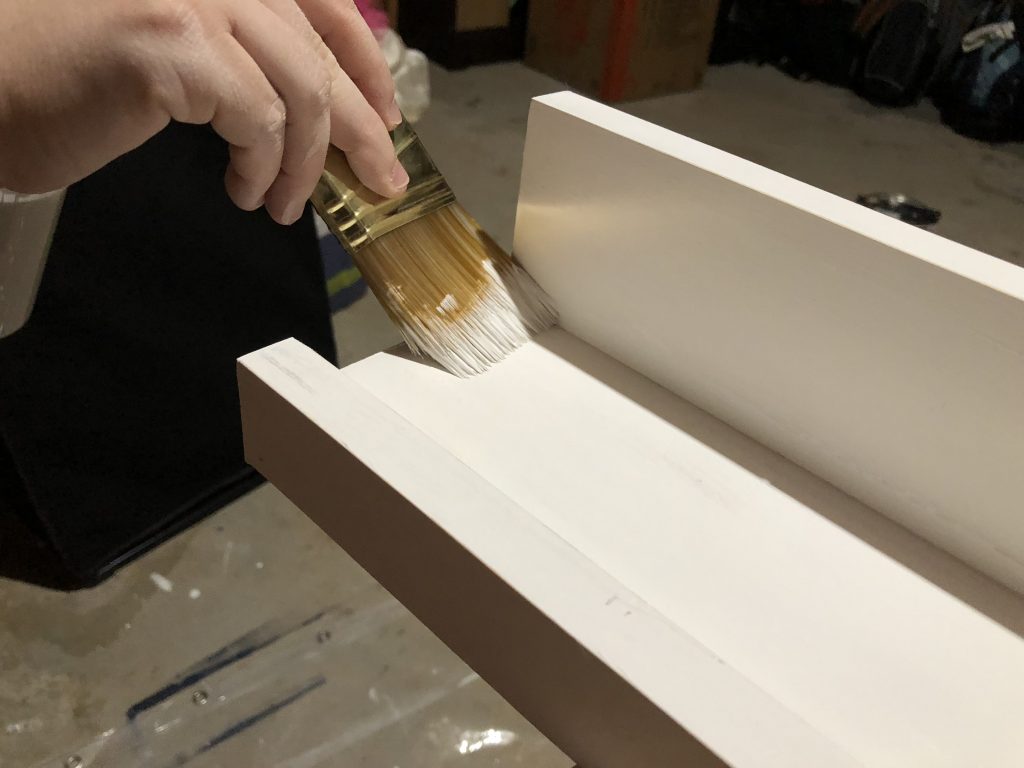
Photo ledges are so fantastic because you can go black and white, modern, colorful. You can change with the seasons, or add on easily.
Similar Posts |
__________
Social Links:
Facebook | Instagram @CandaceCottet | Pinterest
(join the 730,000 other monthly views!)
Don’t forget to Pin and Share!’