
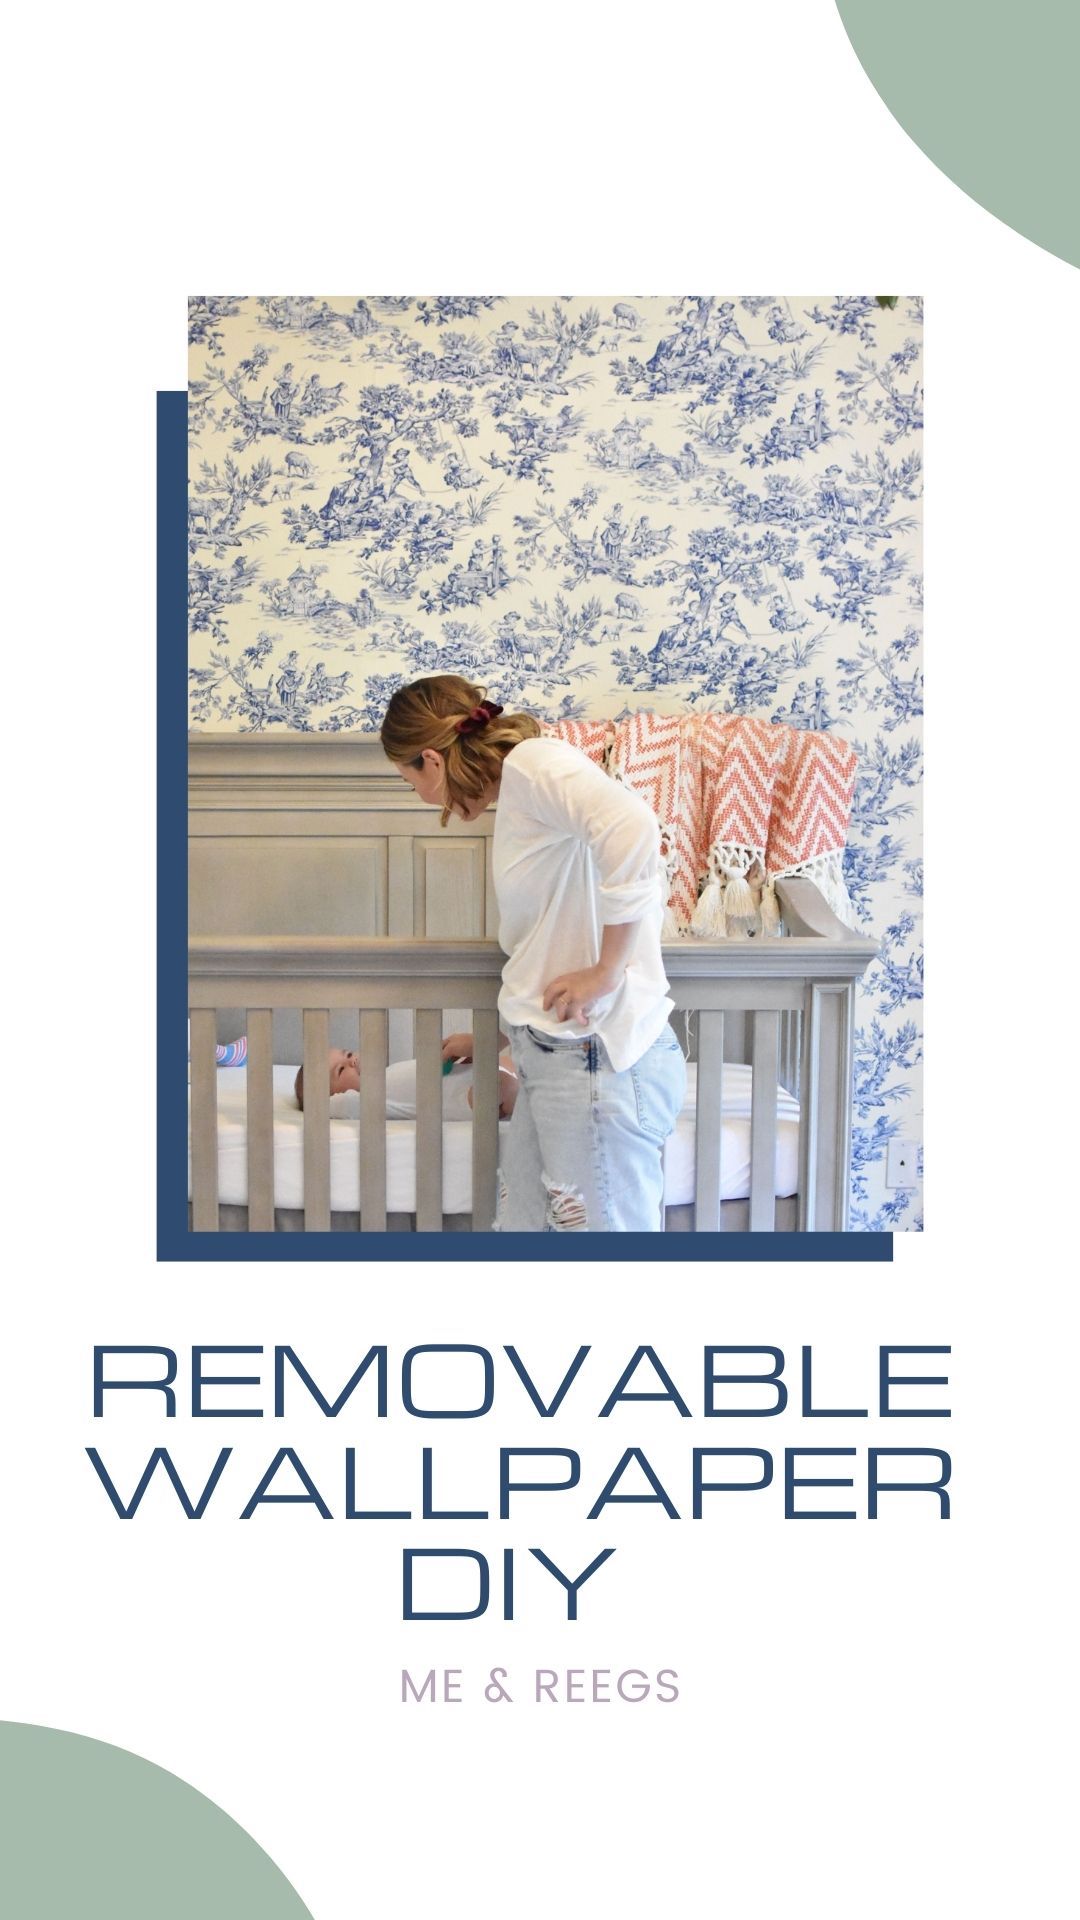
I LOVE wallpaper inspiration… but given that we spent the first several weeks in this house taking wallpaper down, my husband will not go for it. After a lot of googling, I came across Young House Love’s removable fabric detail in their daughter’s closet and wondered if it would work on an entire bedroom wall.
I decided to order a sample and test it out in my closet for a few months before Julia was born to see how it affected (damaged) the wall. After several months, the small patch was still hanging on securely, not filthy, and it peeled off with ease. No residue or damage at all. I could not have been more excited!
If I had known about this when renting, I would have driven Jeff crazy.
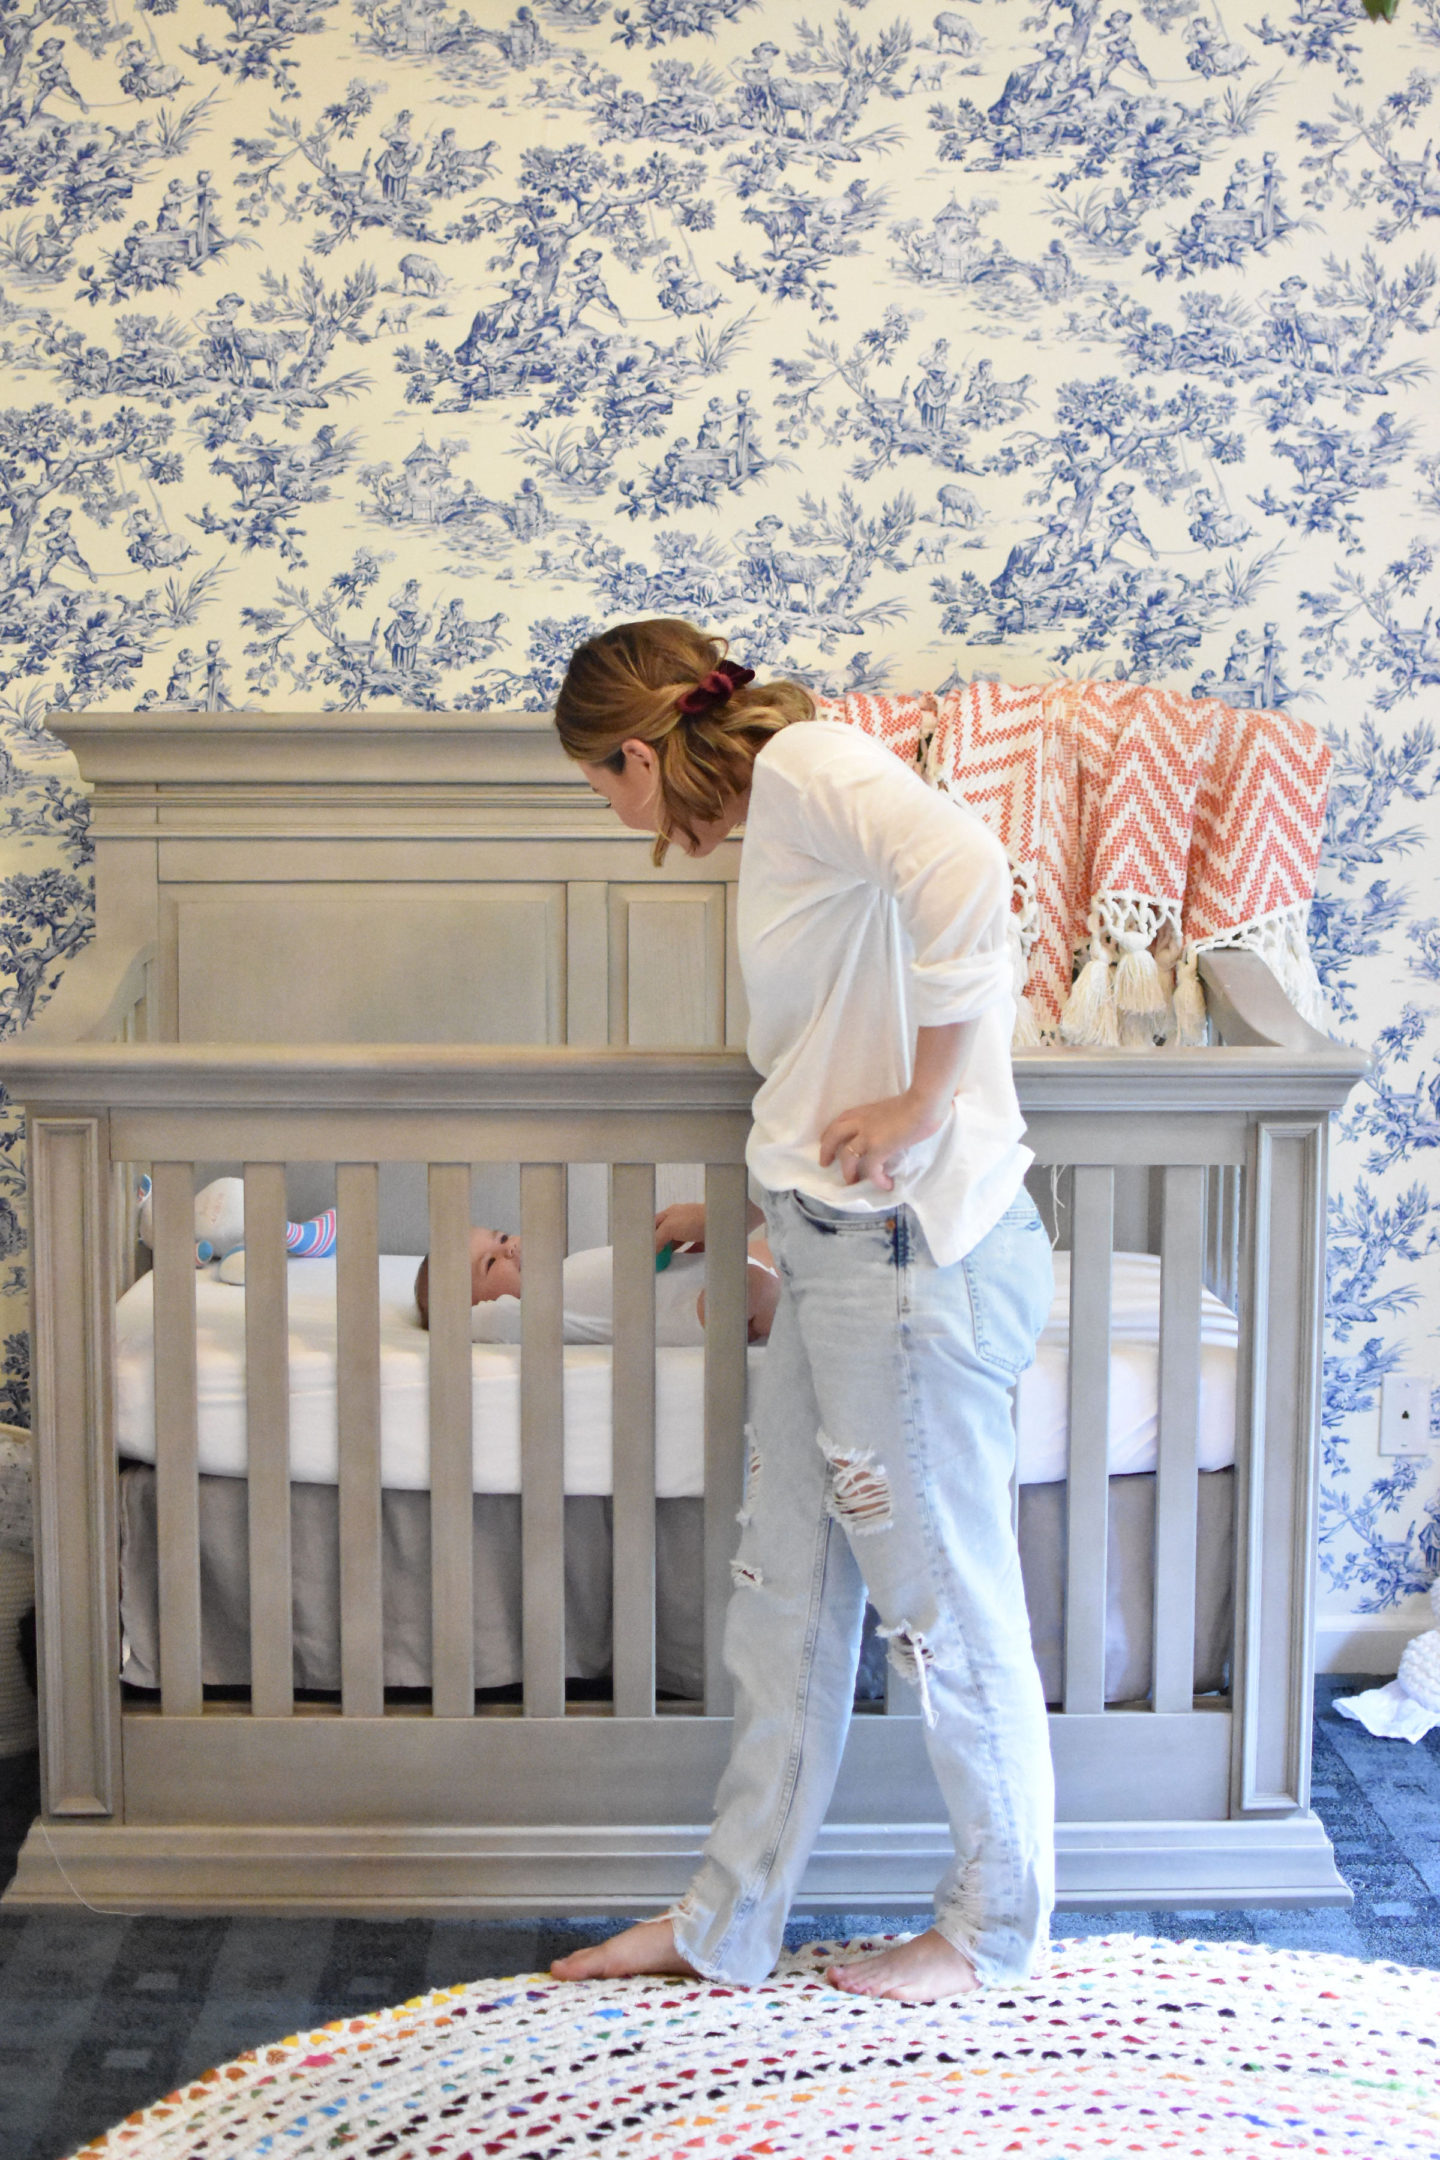
I figured out how much fabric I would need for the wall and picked out this blue toile.
**I ordered 10 yards and had a bunch leftover! Better safe than sorry. The wall we did is 10’8″ x 7’8″. It was less than $200 to do the wall with all supplies needed**
I have always loved toile. I feel like it adds a vintage french touch to things but isn’t cheesy. In fact, our napkins at our wedding were blue toile!
For the nursery design, I originally thought I would go towards a french ballet theme, but as it went on I wanted to play with colors. I am a very grey and navy person. It’s all I ever pick out, so I decided to just have fun with the new nursery.I ordered our fabric from Online Fabric Store and had a wonderful experience.
Full Nursery Tour with Sources!
___________
Everything you need for your Removable Fabric Wallpaper!
Liquid Fabric Starch | Fabric of Your Choice|Push Pins|Rotary Fabric Cutter| High-Density Foam Roller | A Friend
___________
How to Install Removable Fabric Wallpaper
Step 1: Start center
This will line up your seams to divide the wall. My wall called for just under 3 panels so we cut off the excess AFTER we were done.
Pushpin the fabric at the top seam of the wall. I left extra fabric at the top and cut it off later. This will leave minimal damage to the wall and help you and your helper put the fabric in place. I put about 4″ of fabric on the ceiling to help hold everything and then used the rotary after it dried to trim it up. We hung all 3 panels from the ceiling before starching as prep. (see video) Young House Love staple gunned theirs, but I wanted to be able to move with caution and have extra to work with.
Step 2: Fabric Starch and Foam Rolling
Start to use the liquid fabric starch from the center – down and out. As fabric gets wet, it may stretch. If you are working with a pattern like we were, you are going to want to stretch the fabric out from the center. Go slowly. As we went I used minimal push pins to hold the fabric in place. I put them about every 12″, which sounds like a lot but it’s not that bad. Plus those are super easy to fill when you remove the fabric years later. For renters, it’ll be normal wear and tear to any landlord as far as security deposits go.
USE a high density foam roller (and your hands). These work great. You’ll want to use enough to saturate the fabric. You’d rather use more than less.
Step 3: Line It Up, Smooth It Out
Once your first panel is done, line up the next panels with the pattern with the top of your existing panel. Leave a little over an inch of overlap to fold under. Every website I searched never talked about seaming the fabric wallpaper. In my opinion, a fold was the way to go. From a few feet back, you can’t even tell the wall is 3 panels. And close up, the folds gave a nice finished touch. You are going to want to again starch down and out and keep adjusting the fabric as you go. Step back and go slowly.
As you go you’ll be pressing out bubbles.
Repeat the process with your final panels. Leaving extra around all of the edges of the walls to trim later for cleaner corners.
Step 4: Remove The Excess
After it dries, use your rotary to slowly trim the fabric. I originally had a rotary with safety and it would not get close enough to the corners of the wall. I ended up finishing up with a straight-edge razor blade. A rotary is a smoother cut because it spins, so get the dangerous one and just be careful. I waited to allow the fabric to shrink or settle.
Remove the push pins. I used clear and couldn’t even see mine so I left a few for months out of nerves. Once the fabric dries you are good. If you see any bubbling or lifting just re-roll with fabric starch. I would leave for at least a day or two to fully dry. It might dry faster, but better safe than sorry. If you want, you can replace the push pins with a staple gun or finishing nails.
___________
Other rooms I have used this method in!
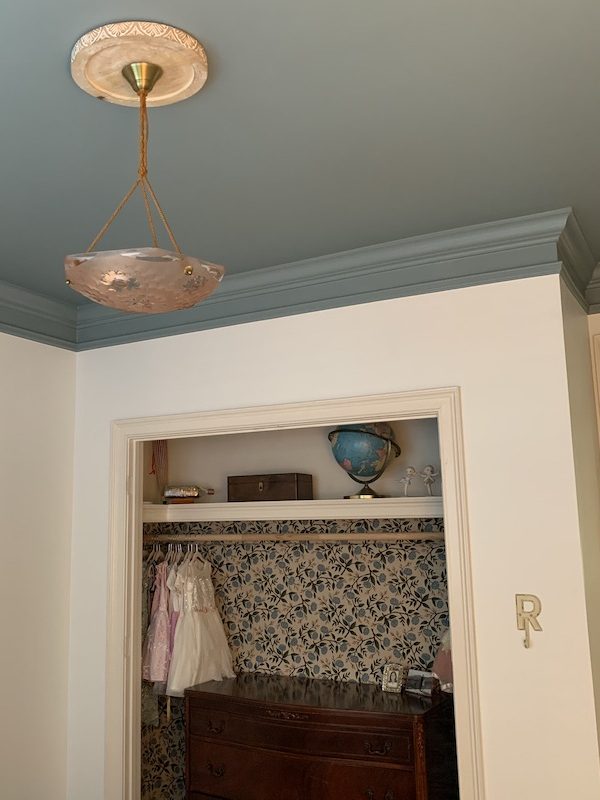
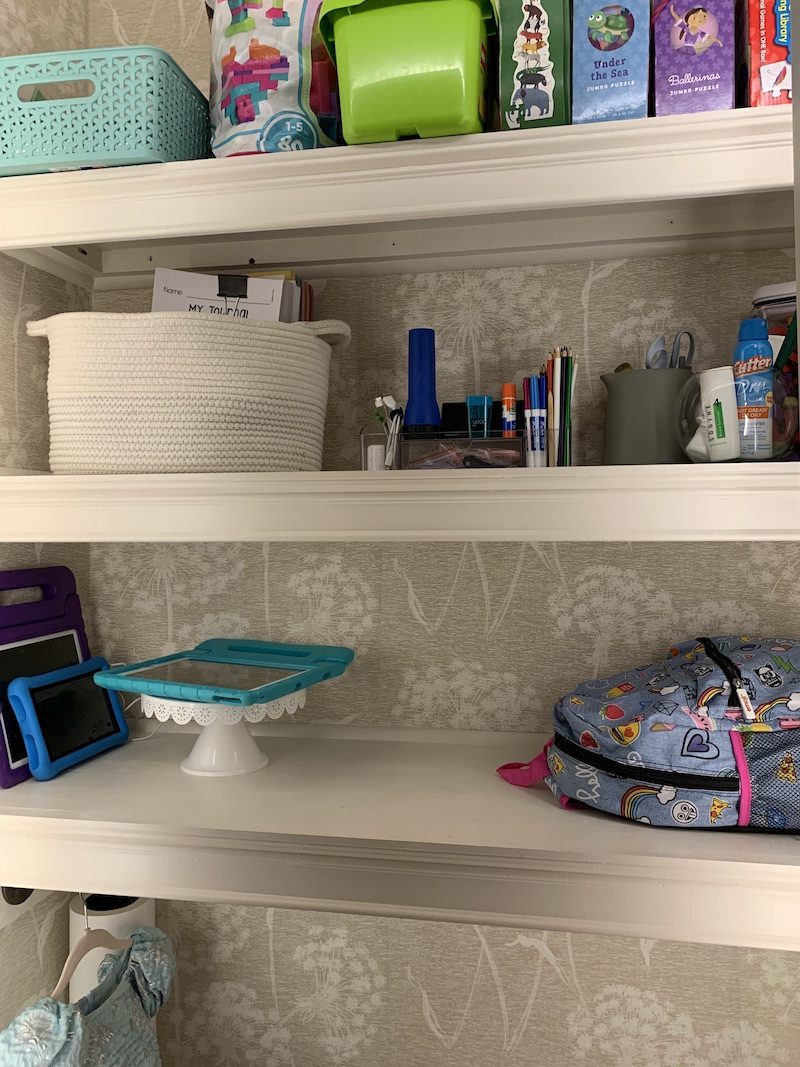
My Daughters Bedroom Closet | Our DIY Entry Closet
- I would not use a striped fabric. The toile pattern was tedious to hang up but manageable. A stripe would require you match seams and striped. I’m far too type A for that.
- You can order samples of your favorite fabrics through most fabric stores for free to a few bucks. It’s worth doing that first to make sure the fabric doesn’t bleed.
- A sturdier fabric is better. If the fabric is too thin is may look wavy on the wall. We used this Toile It’s 100% cotton but a little heavier and would be more of an upholstery fabric. I used it on a stool as well.
- Dummies.com has a great equation from how much fabric you will need. I used 54″ fabric. You’ll need to account for trimming off at least 3 inches on each side and your 1-1.5″ folds.
- Order more than you need. I was terrified I would be a foot short and have to re order an entire panel. It’s easier to trim off extra than be short on fabric. Plus, you never know if a fabric will go out of stock or be reproduced differently. Order it all at once.
- It doesn’t dry weird or discolored (test your fabric for bleeding), It added gorgeous texture to our wall and it’s my favorite thing in the entire house.
- We did not prewash our fabric.